The Process of Making Kiln-Fired Stained Glass Paintings
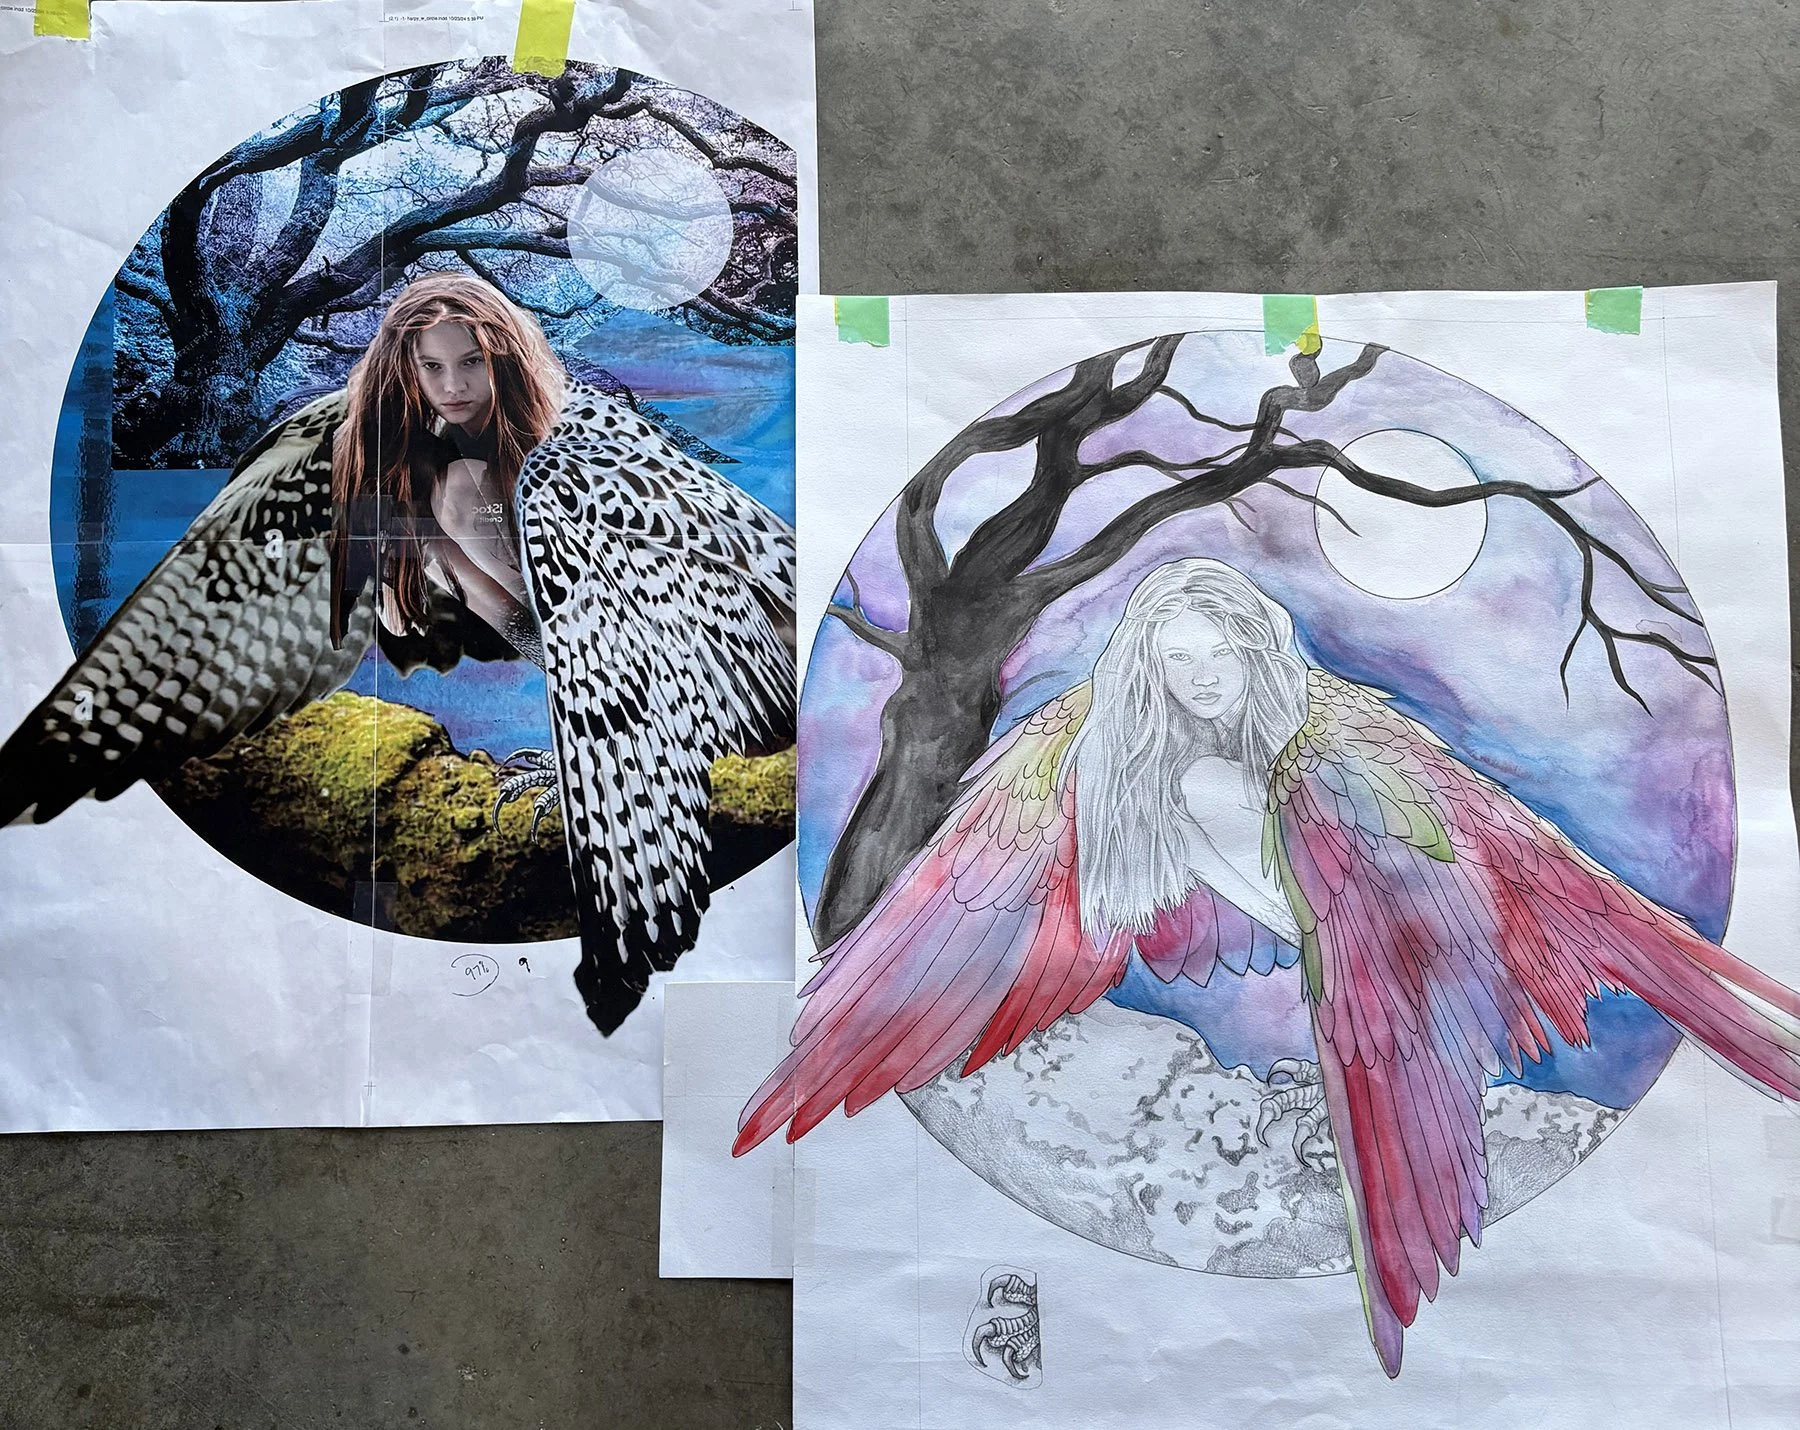
It starts with the creation of a design concept via Photoshop and a hand drawn sketch known as a “cartoon” to work out glass colors, cut lines, etc.
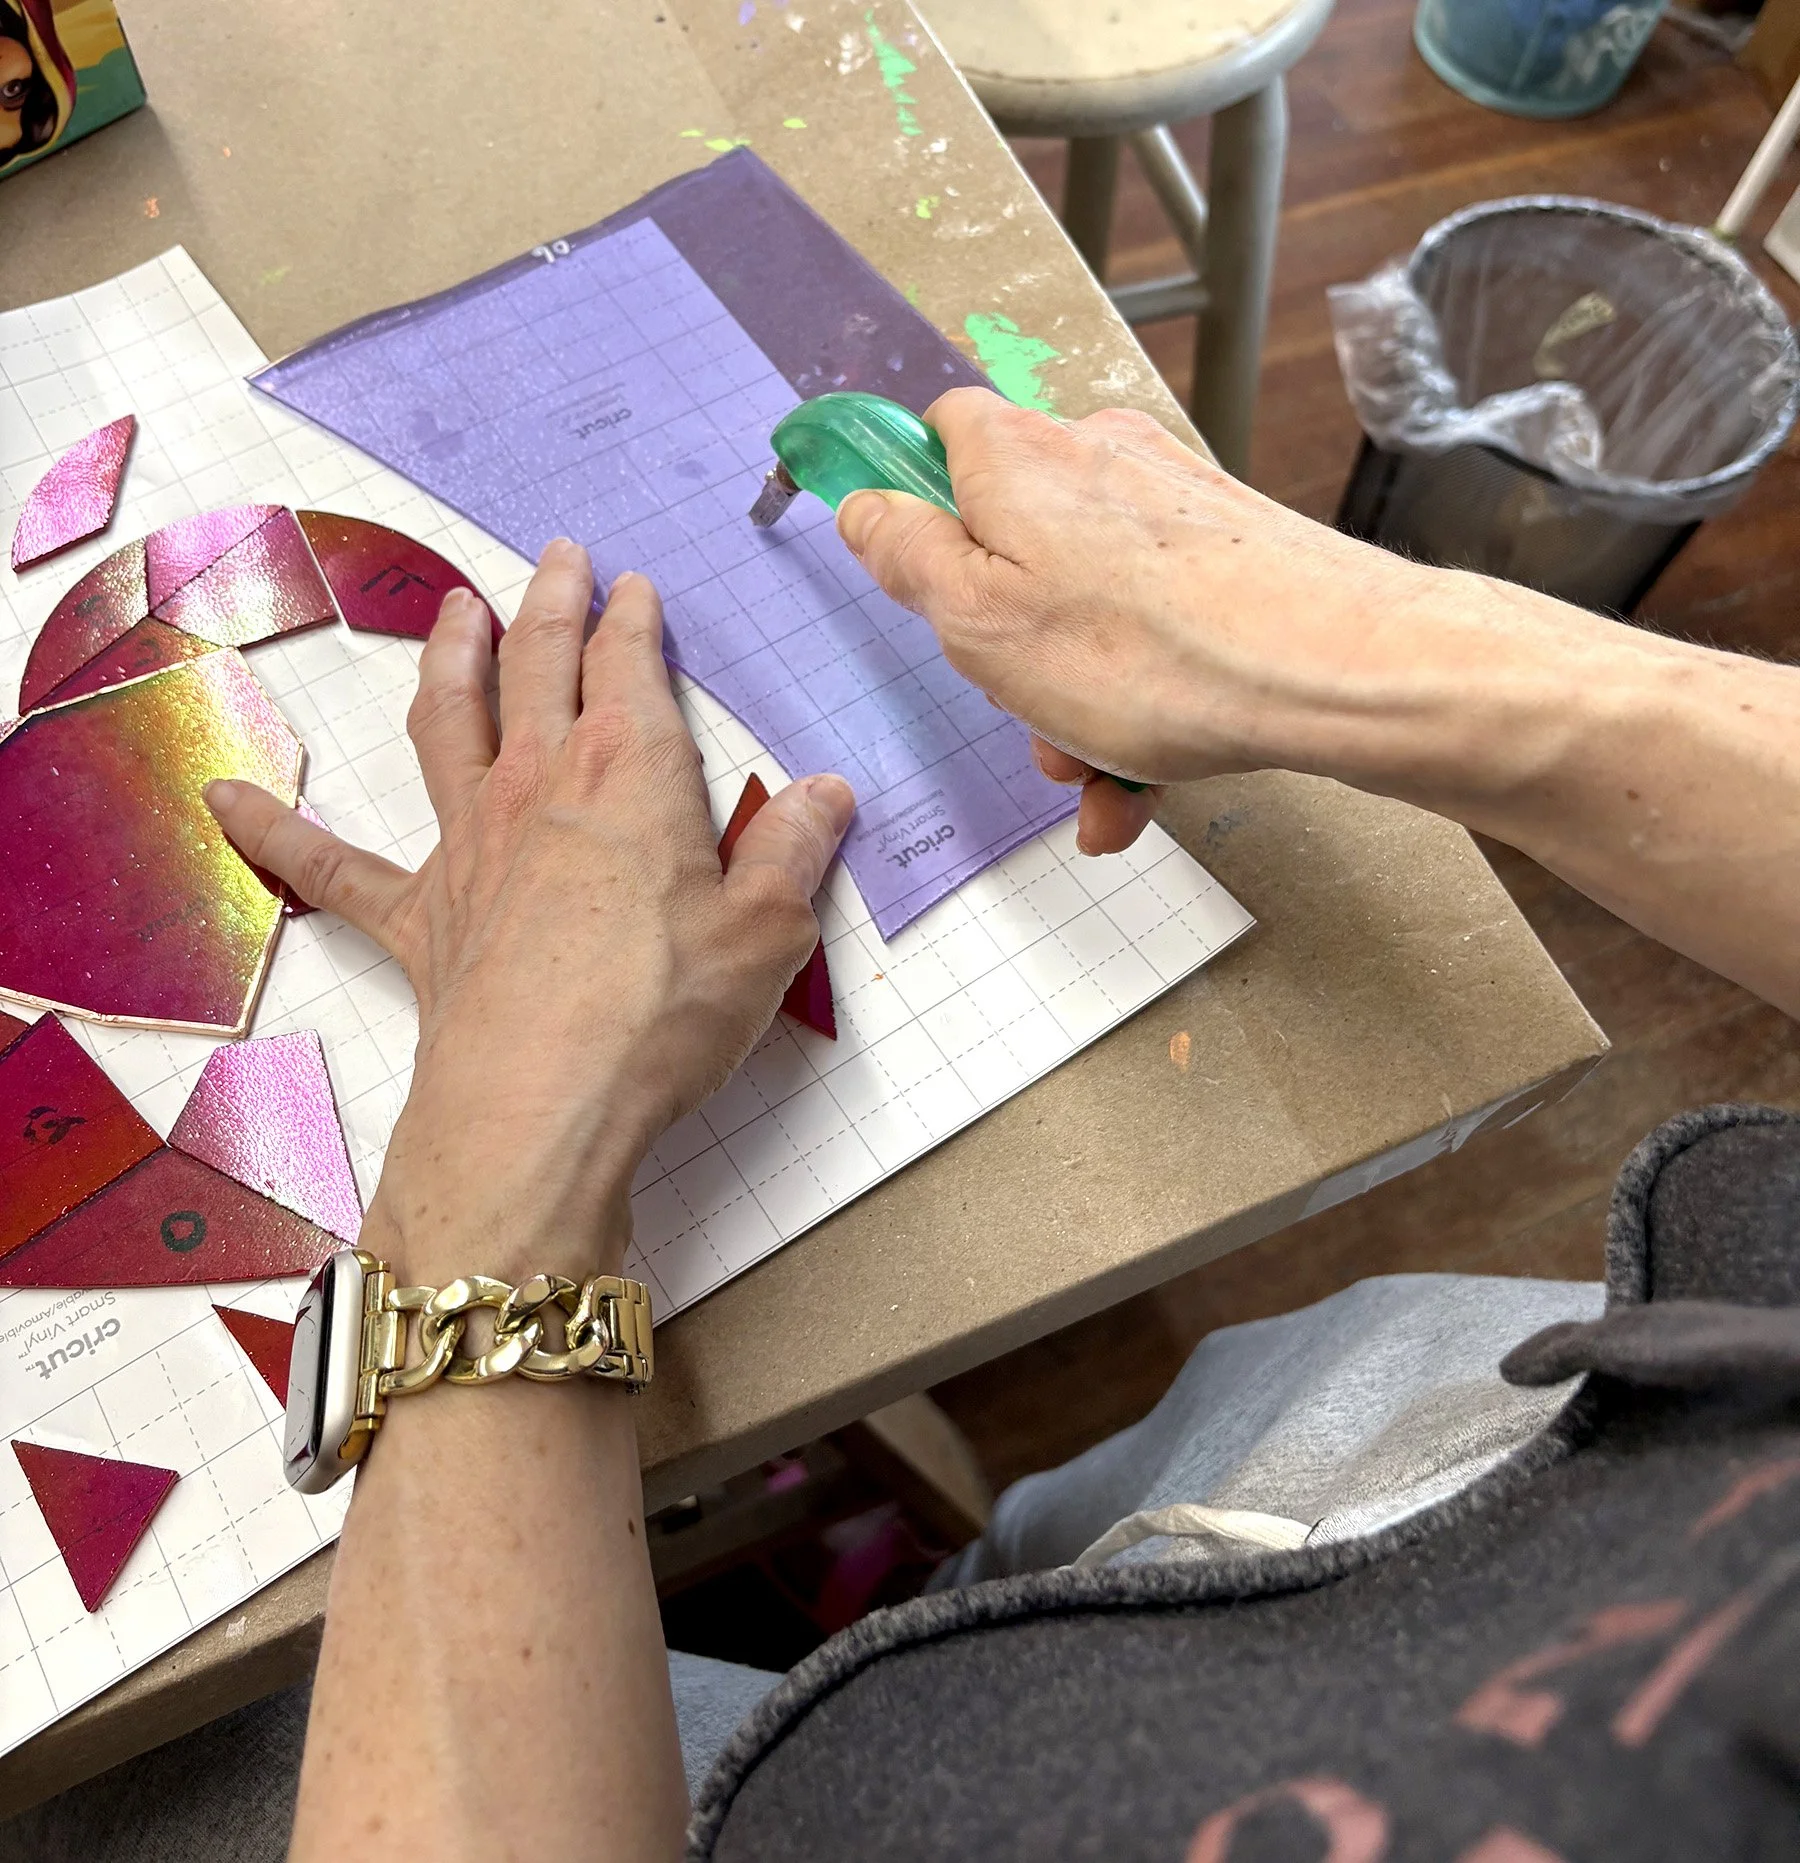
Then it’s time to select and cut the glass to the desired shapes!
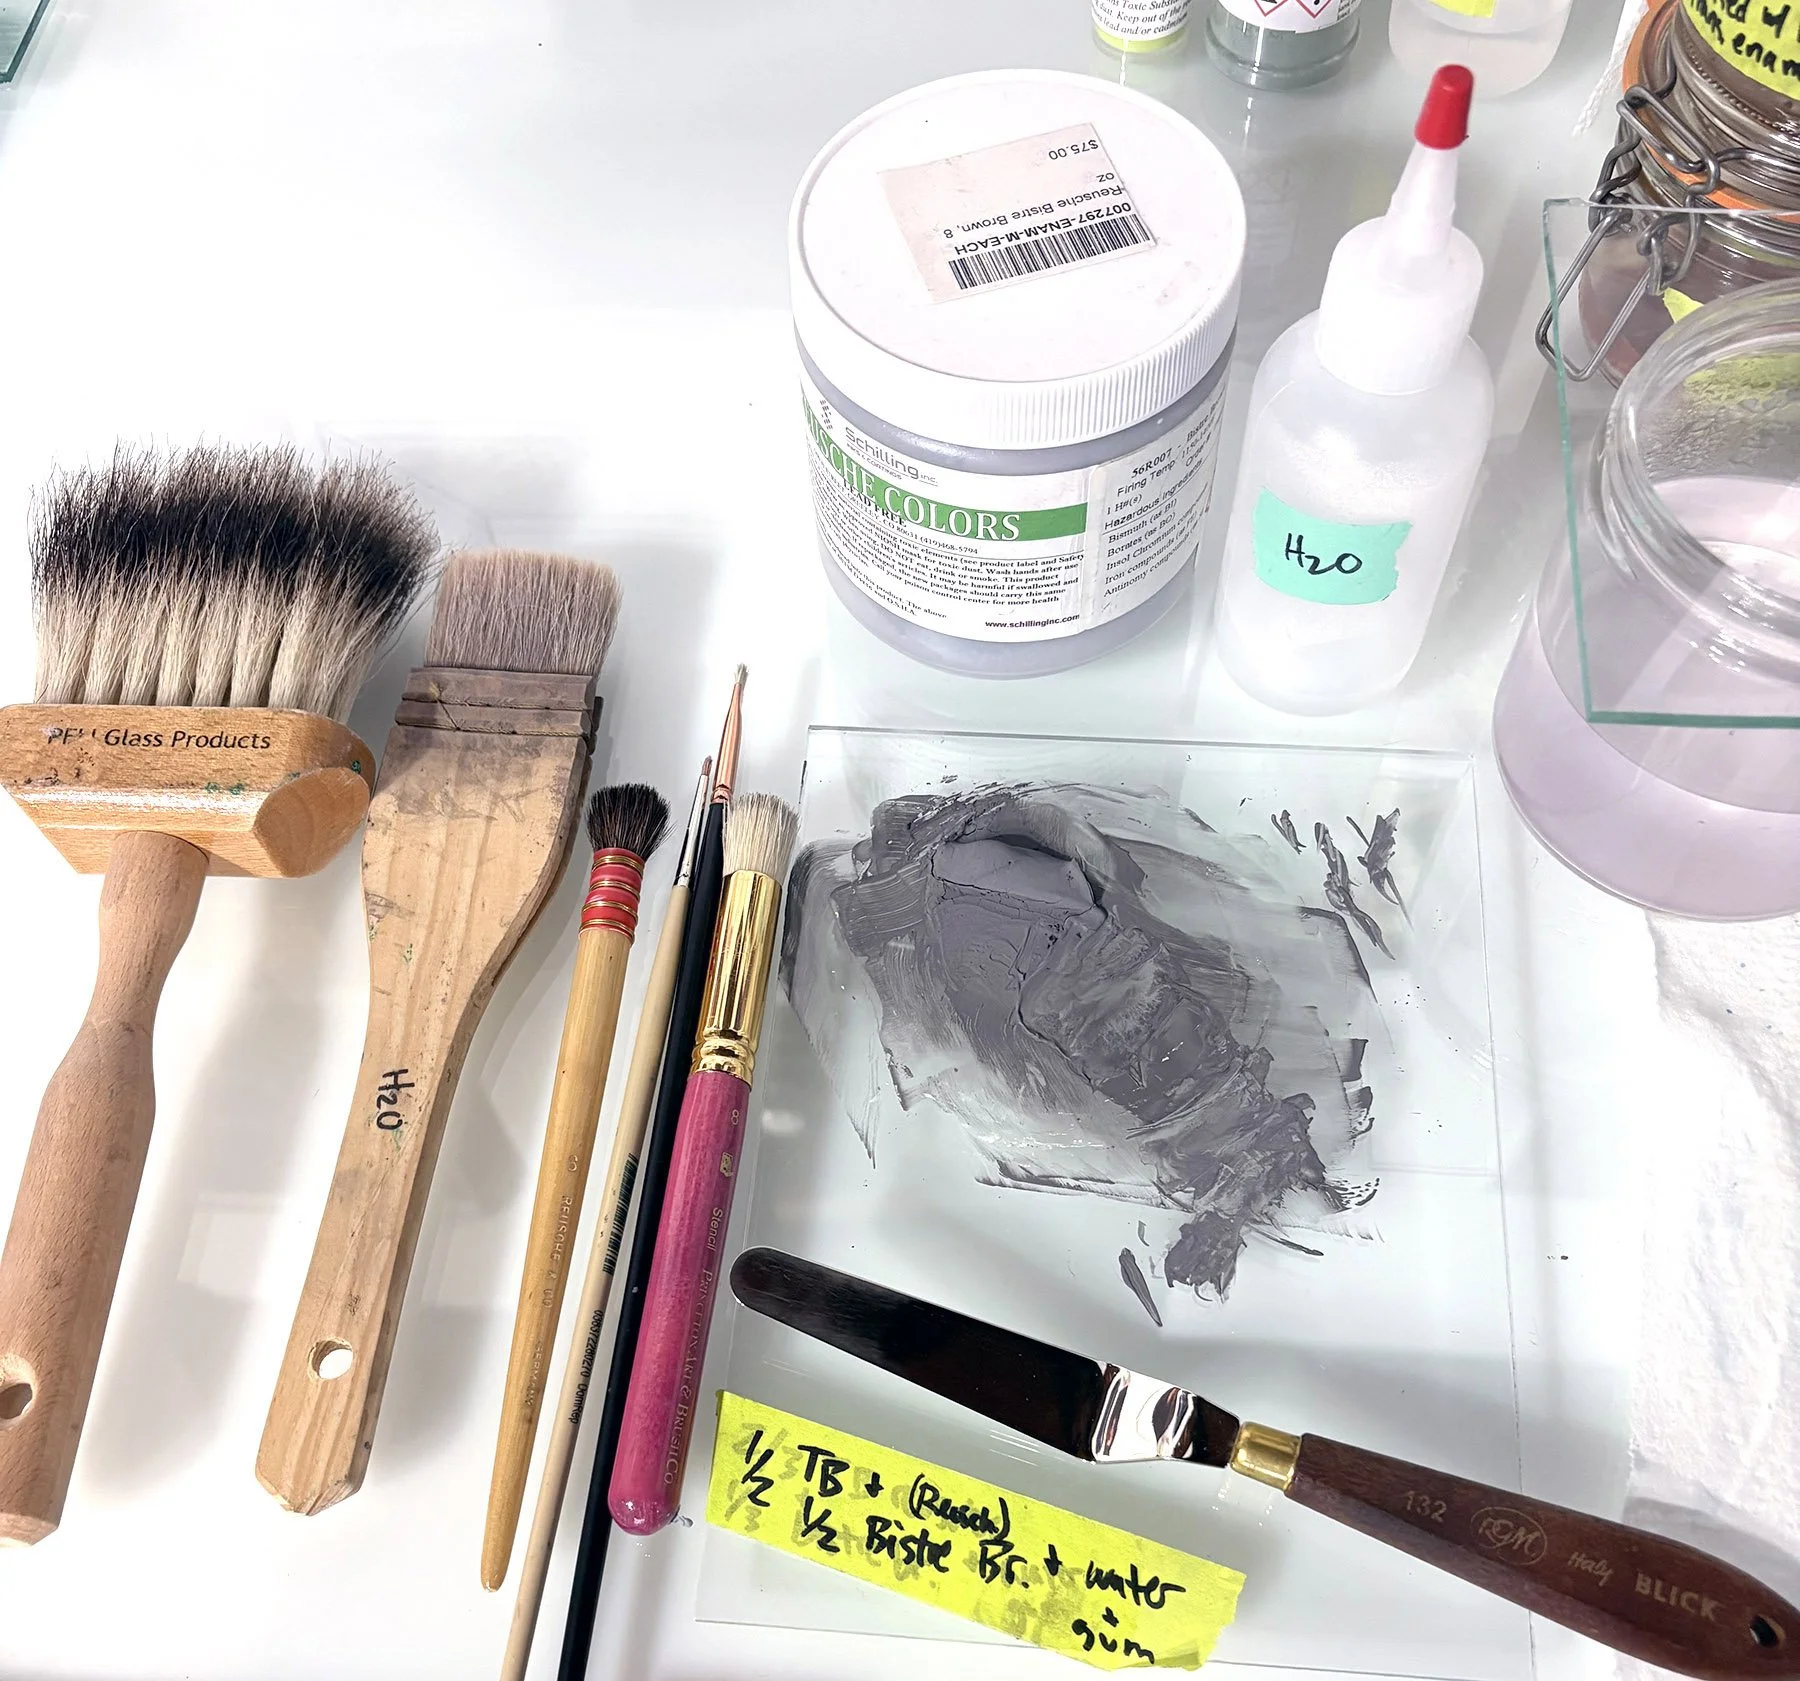
These are various paint brushes and items used to create glass paint comprised of a liquid medium, metal oxides, pigment, and ground glass.
The painted surface is fired in a kiln to permanently adhere the paint to the glass.
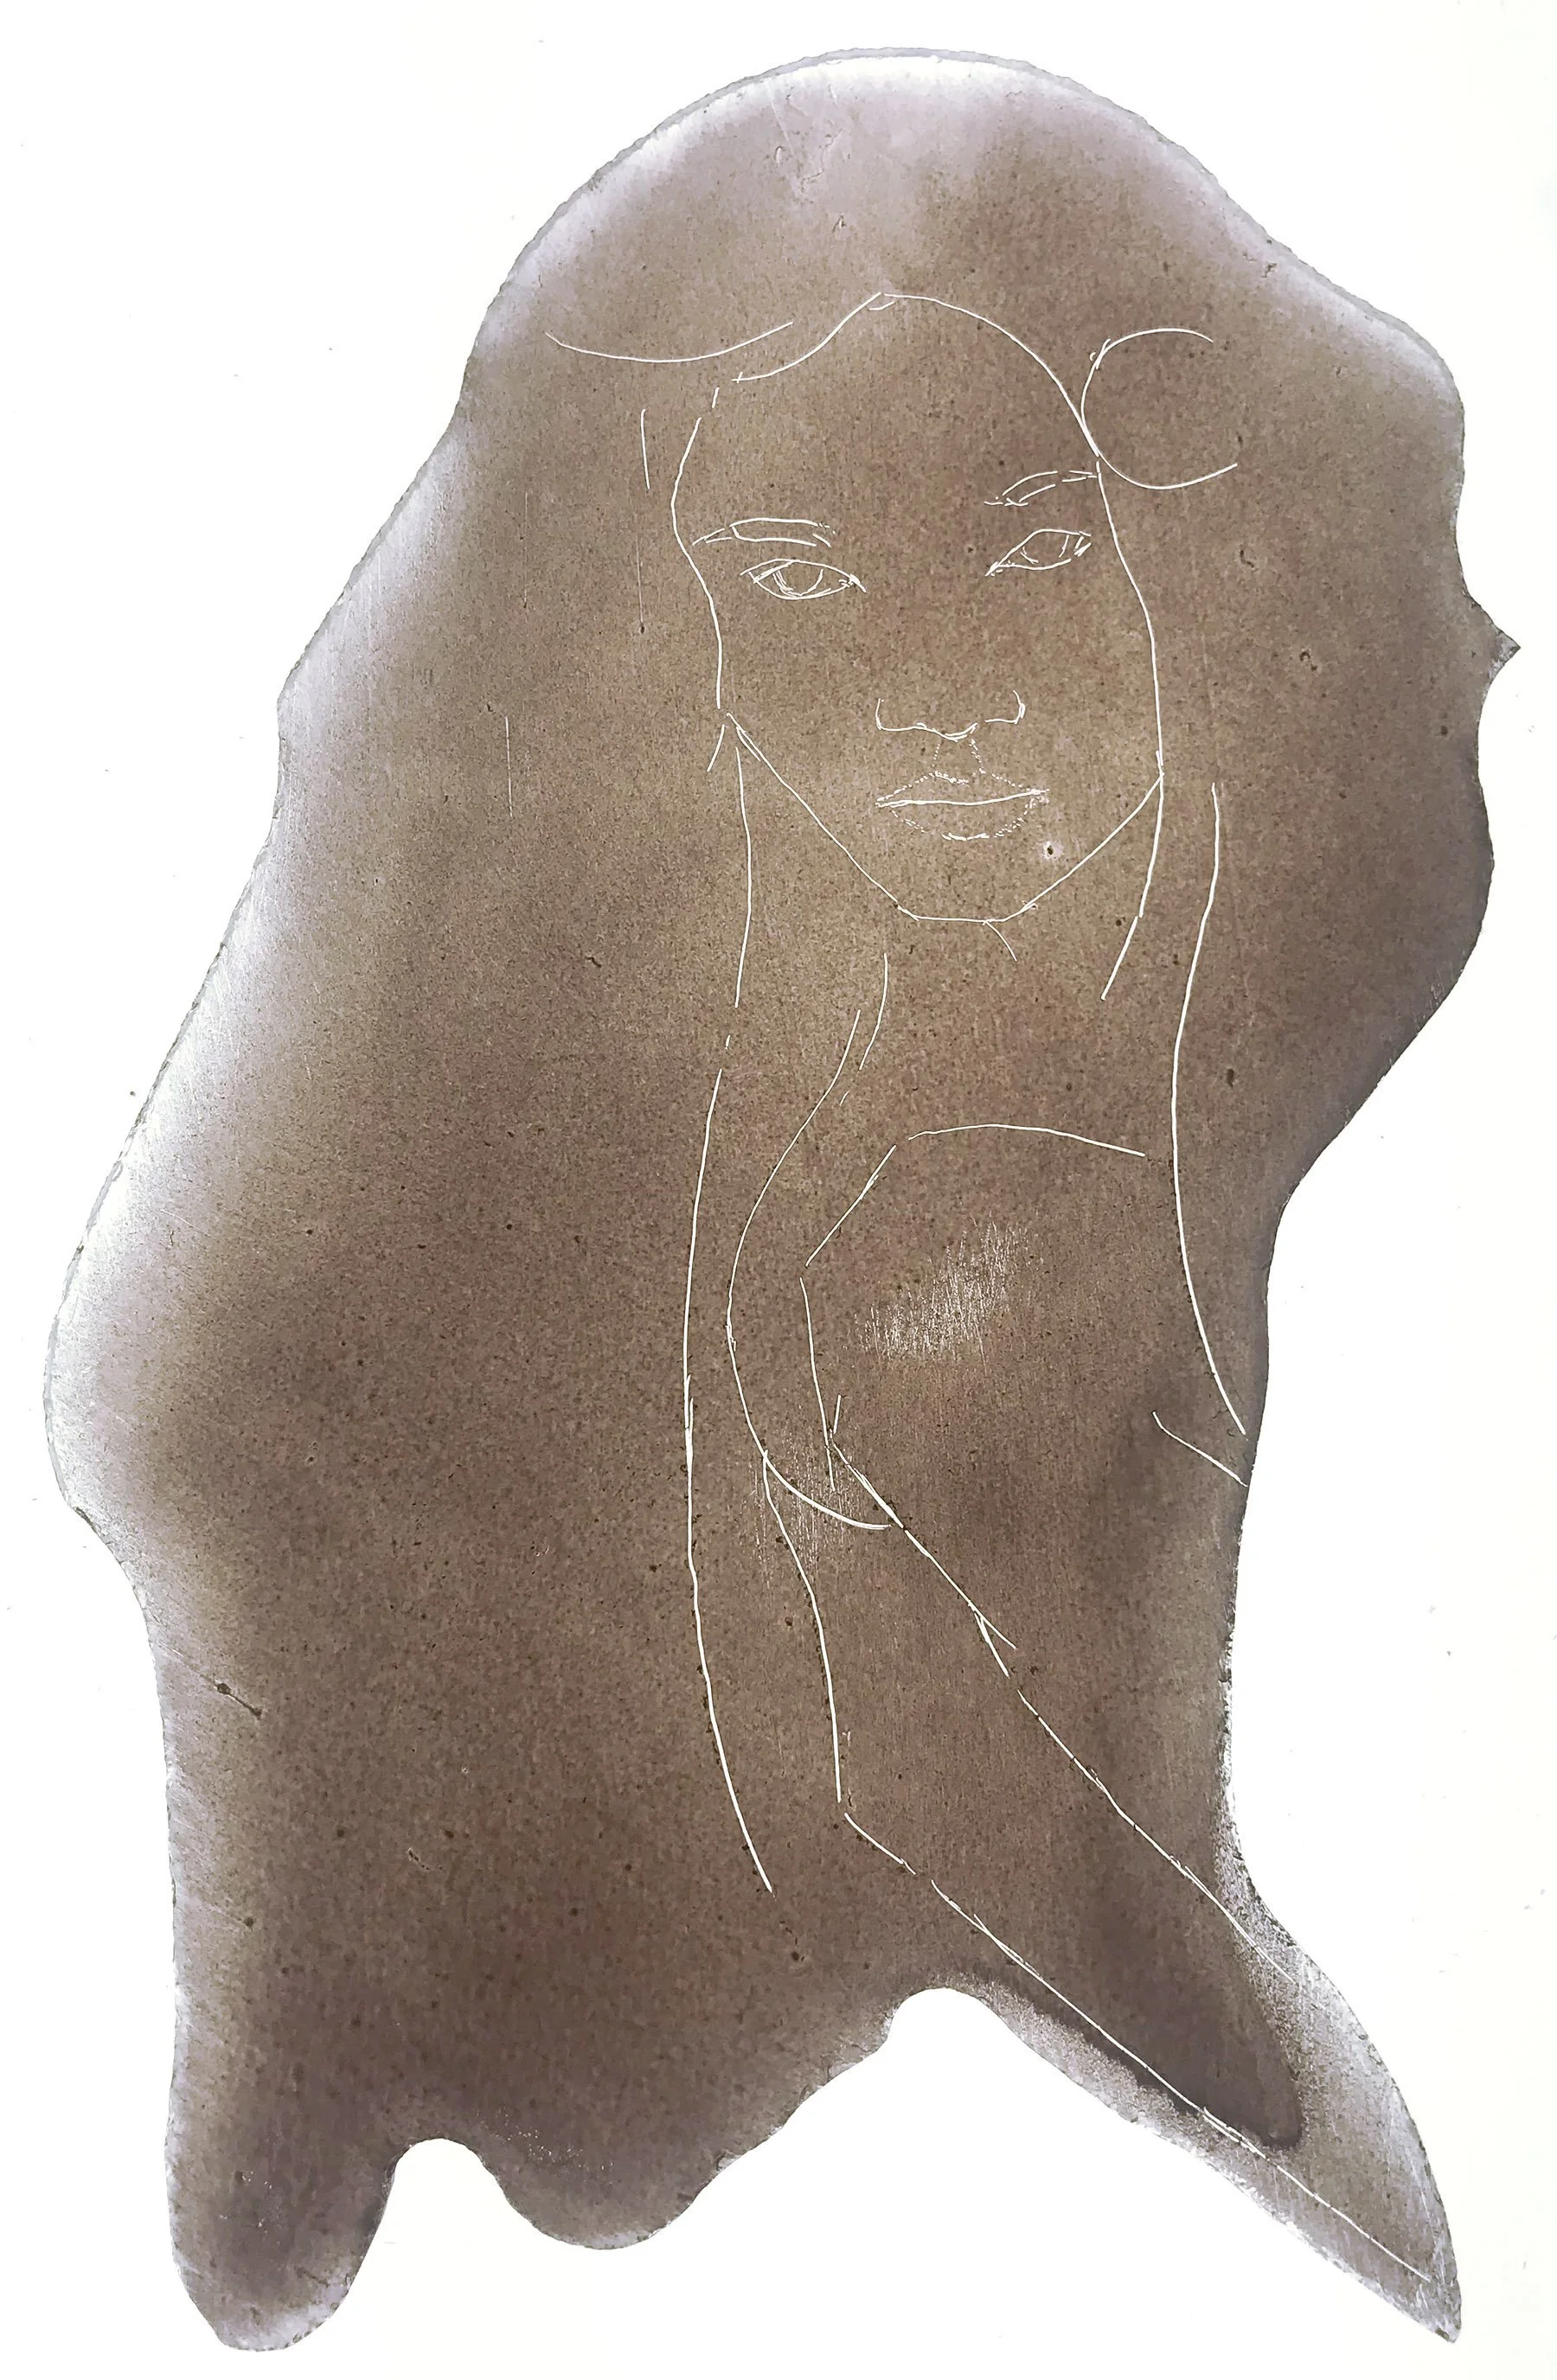
A thin layer of watery paint is applied with a badger brush to clear glass, let to air dry to a powder, and then scratched out.
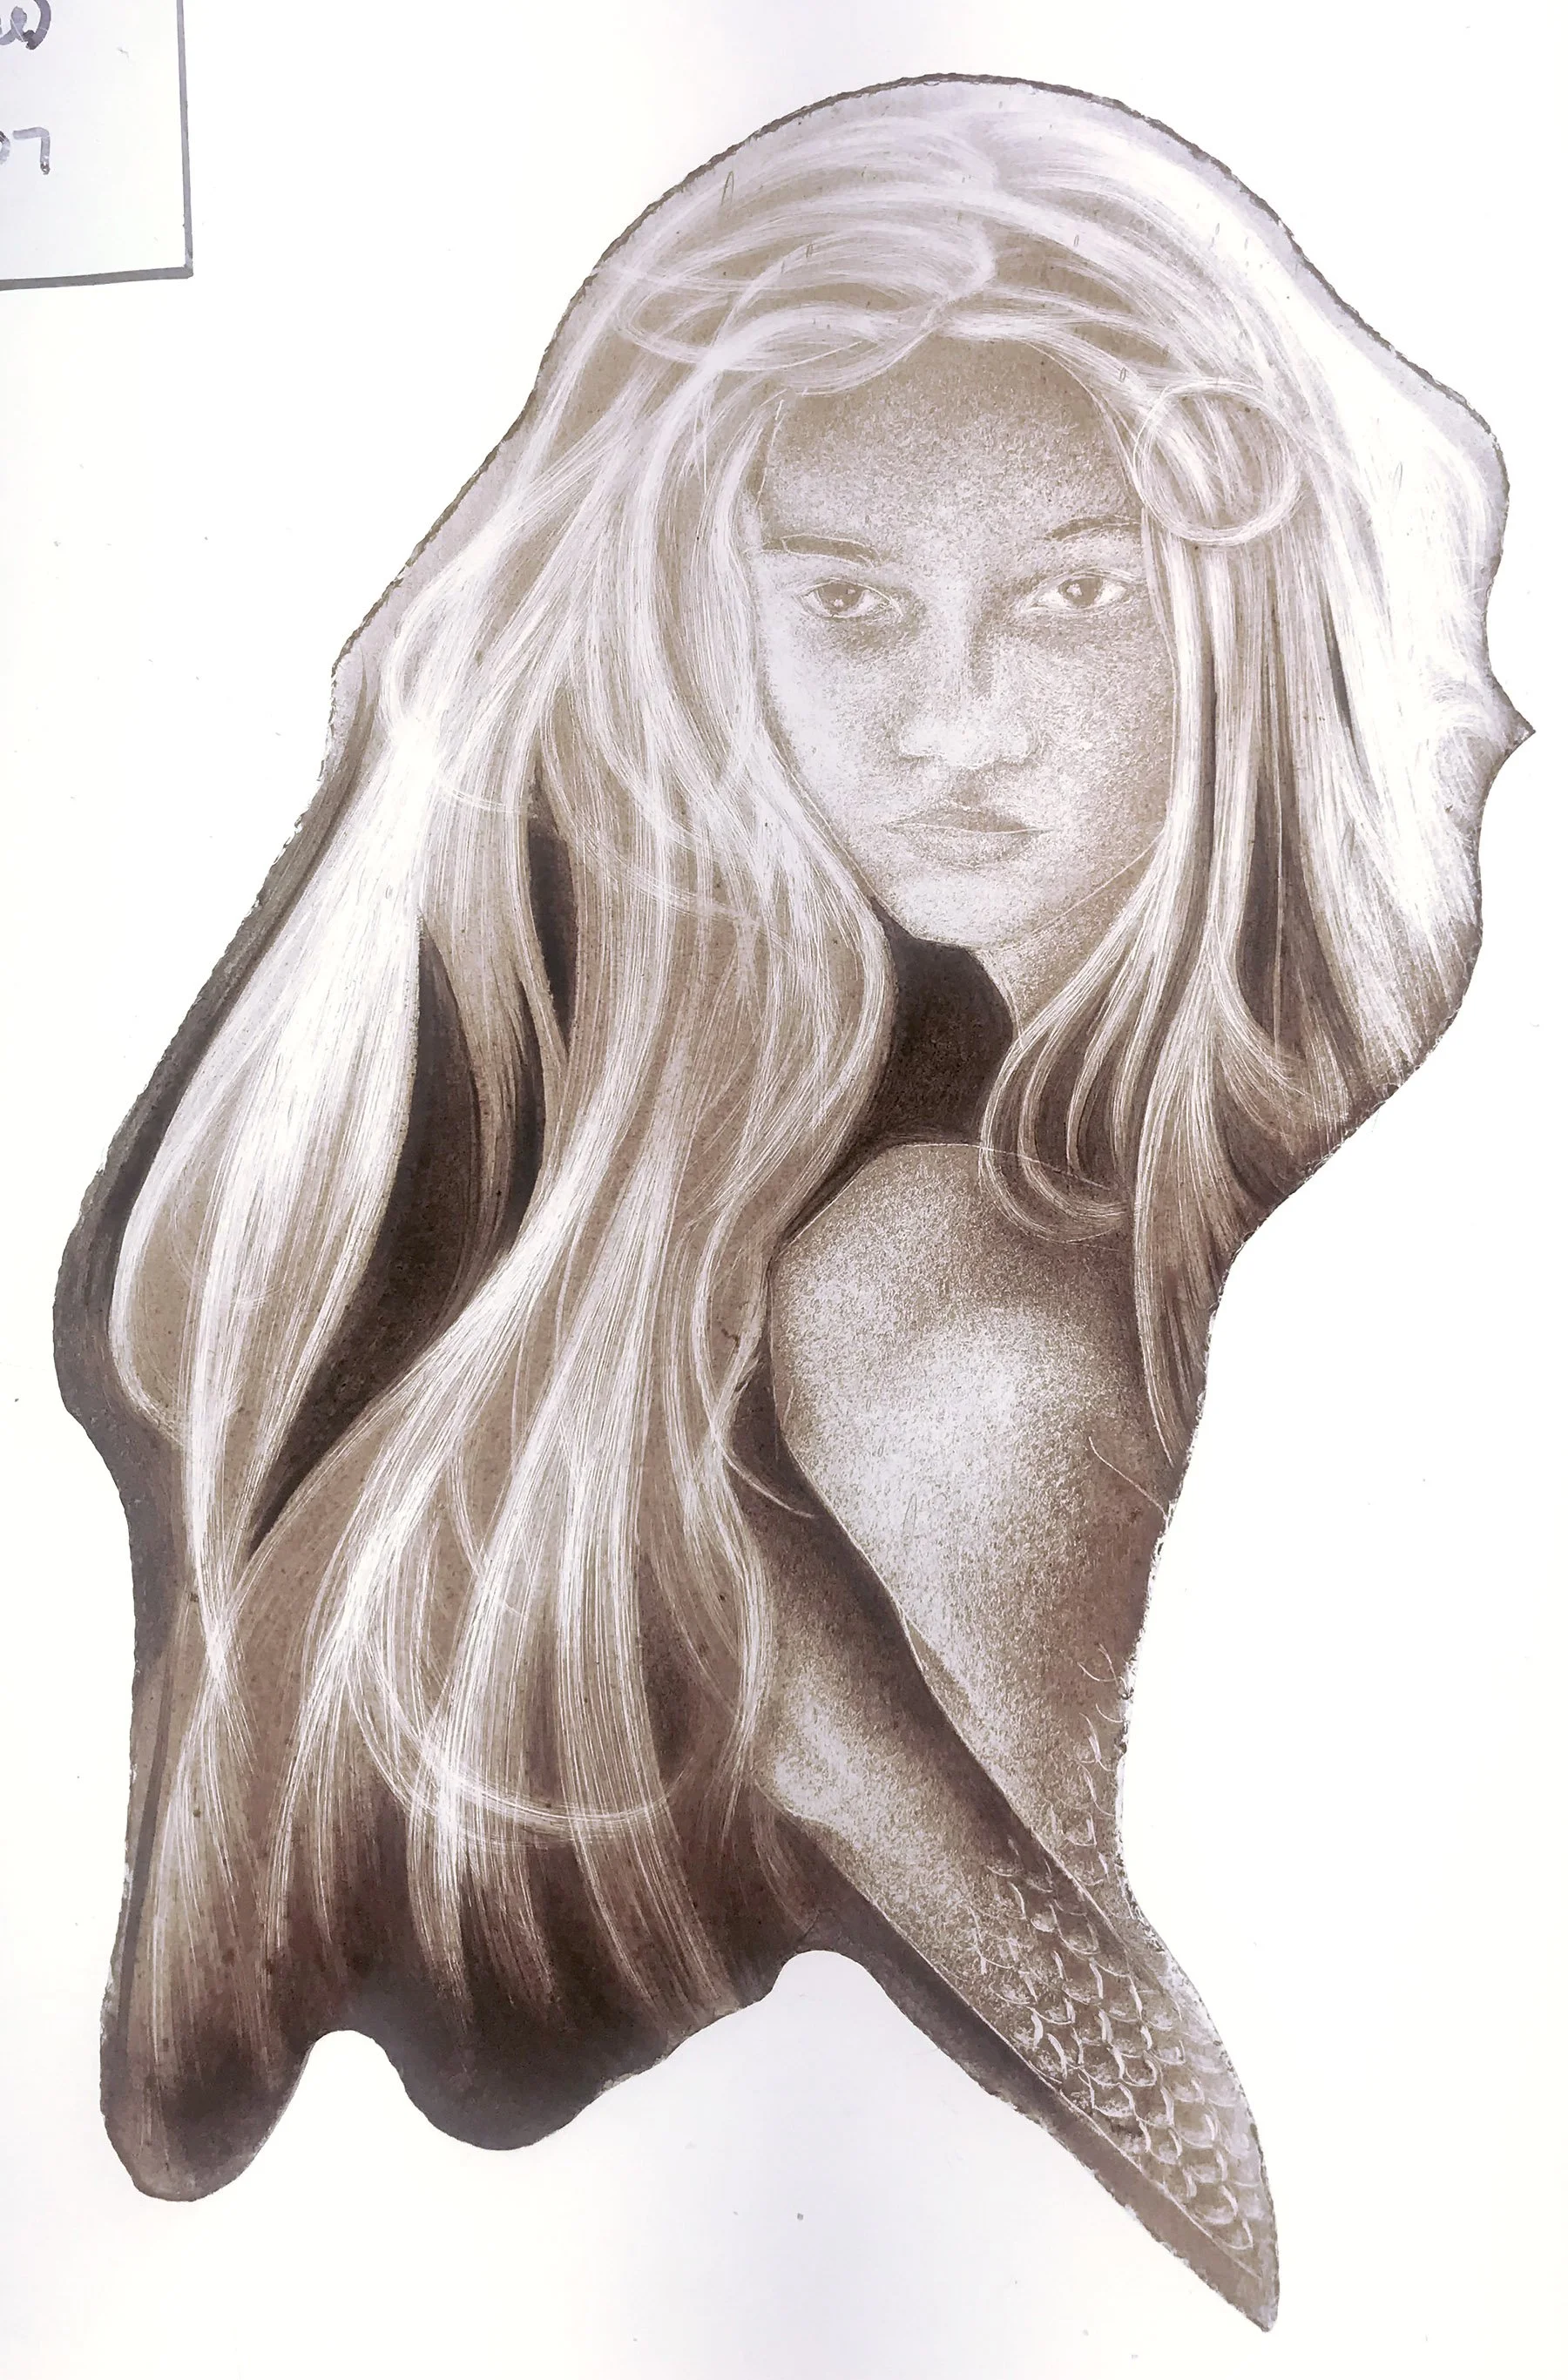
I used various brushes, mostly made of hog hair, to stipple and brush away the paint powder, (which remains workable at this stage) then I fired it in a kiln.
I do this process several times to build up contrast. Here you can see as I start to work with paint as a wet medium. Each layer is fired separately in a kiln.
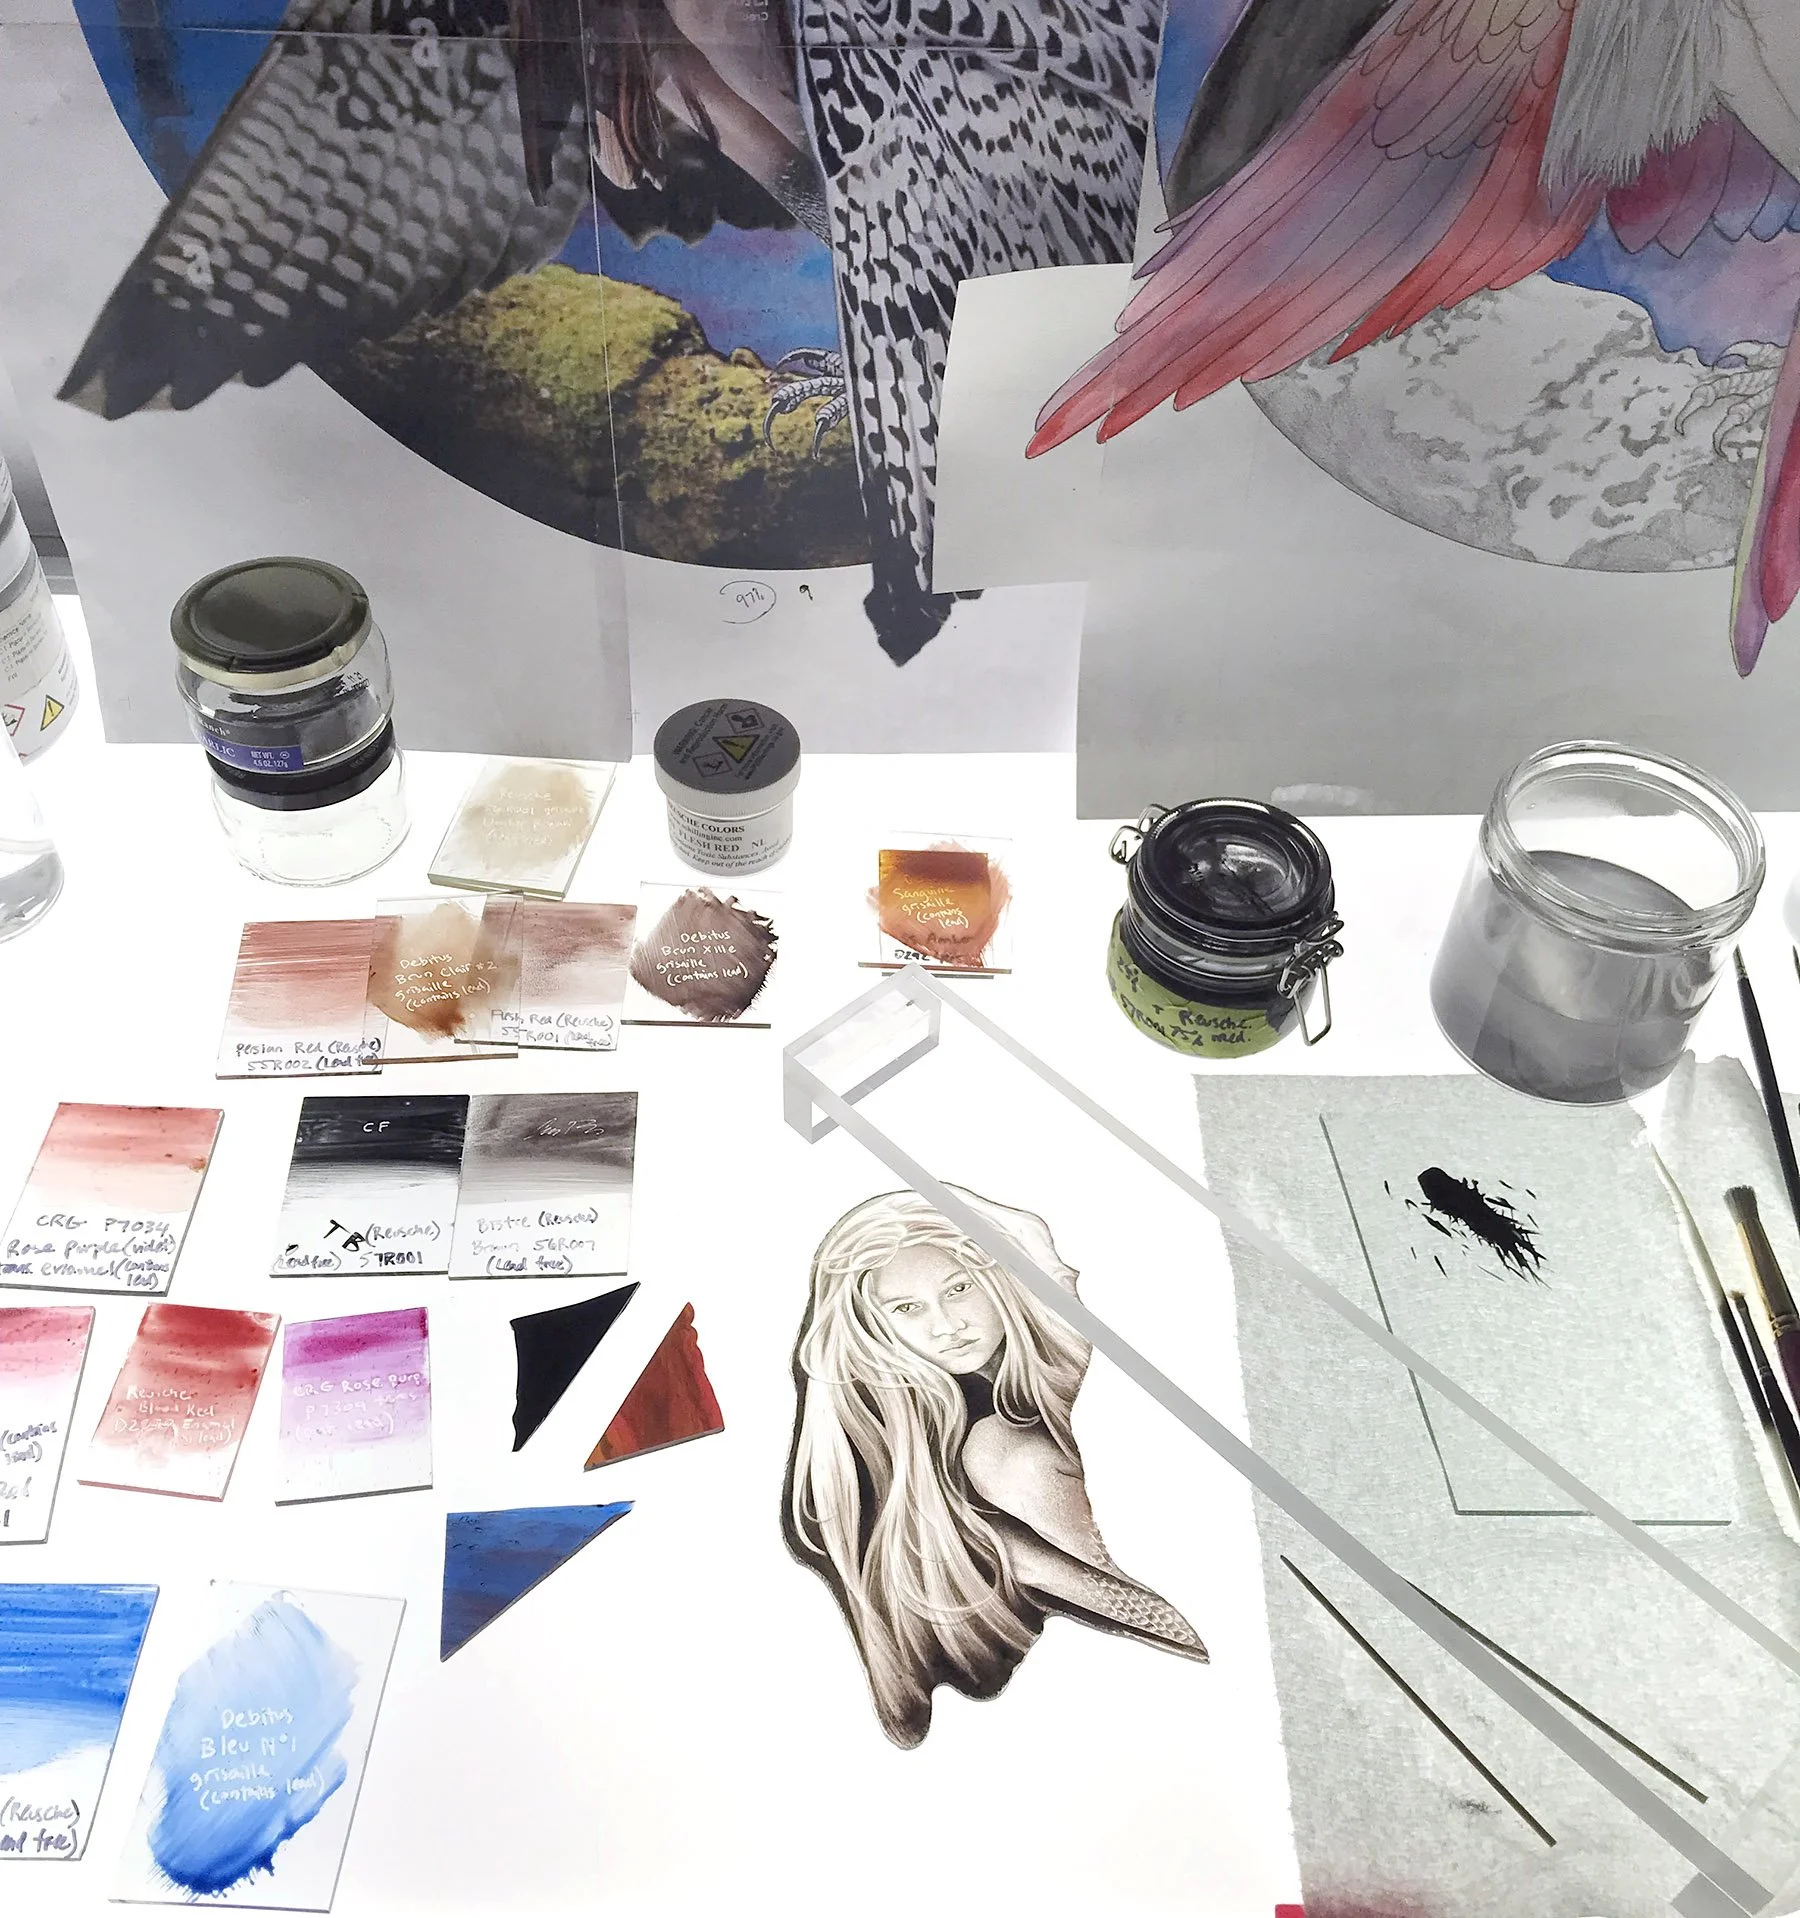
Here is part of my workspace. Pictured are a light table with multiple paint samples, paint in various forms, a glass palette, and my visual references.
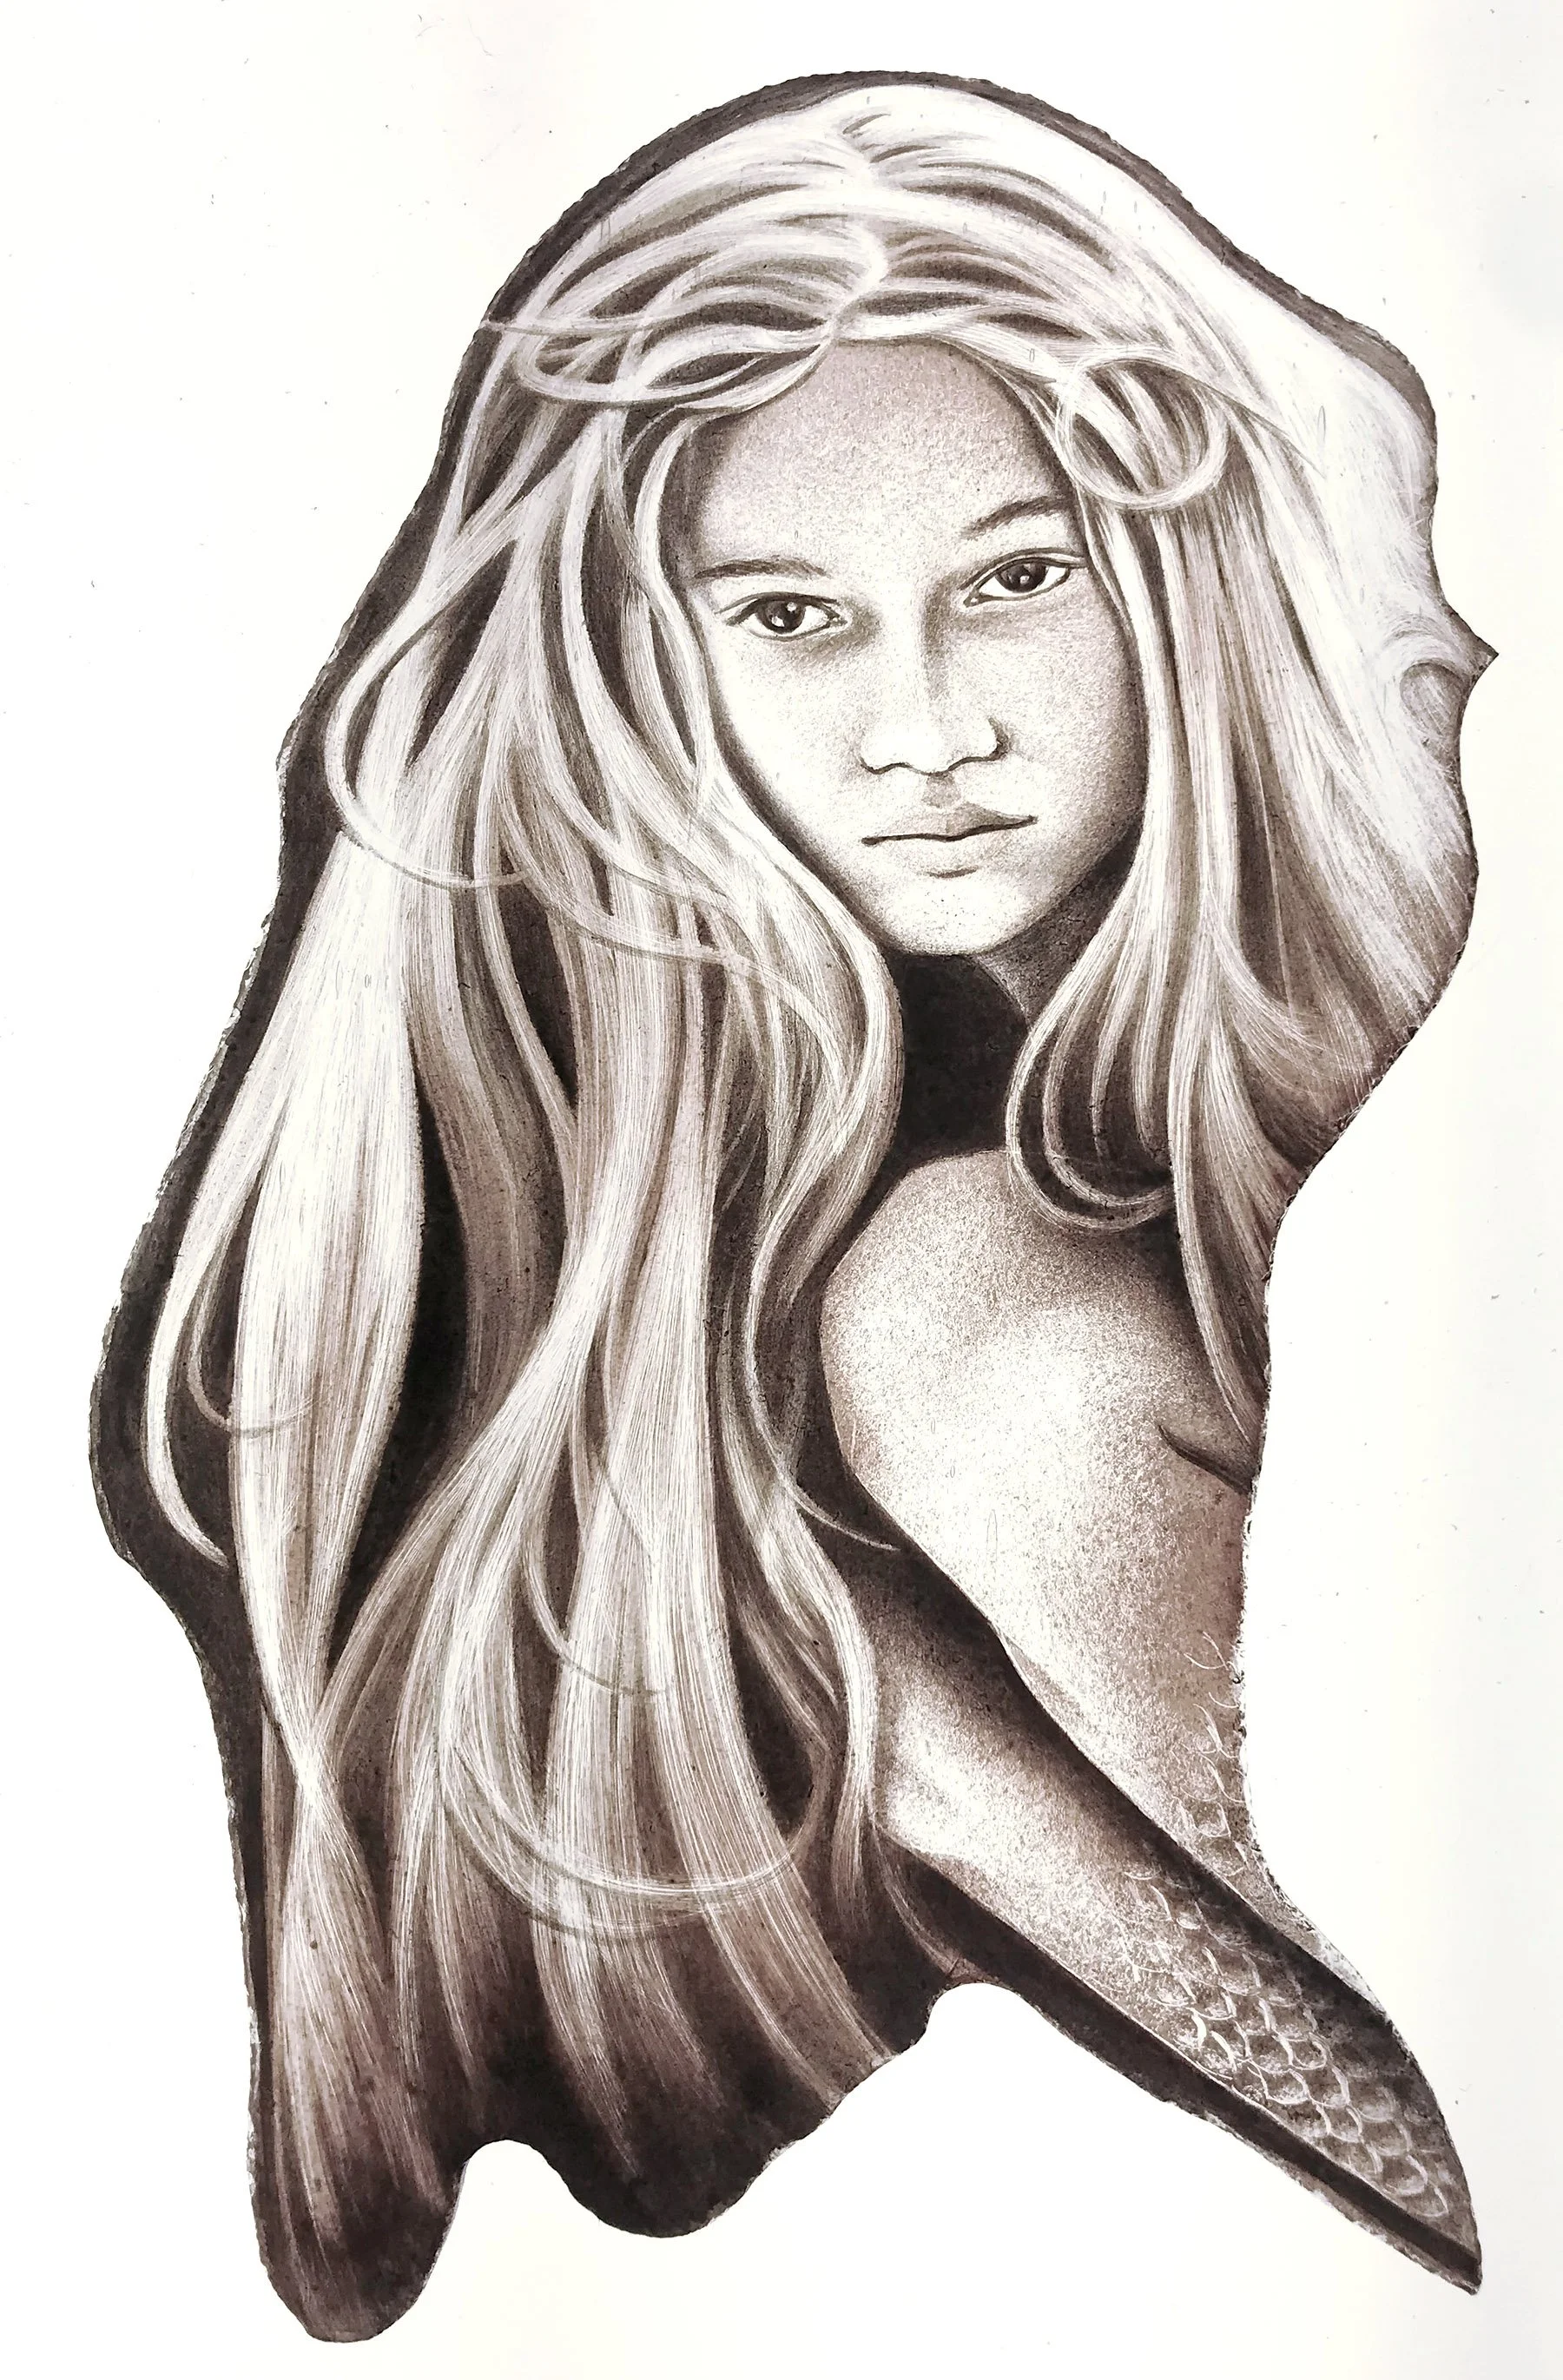
This is what it looks like after five layers of paint and five separate firings in the kiln.
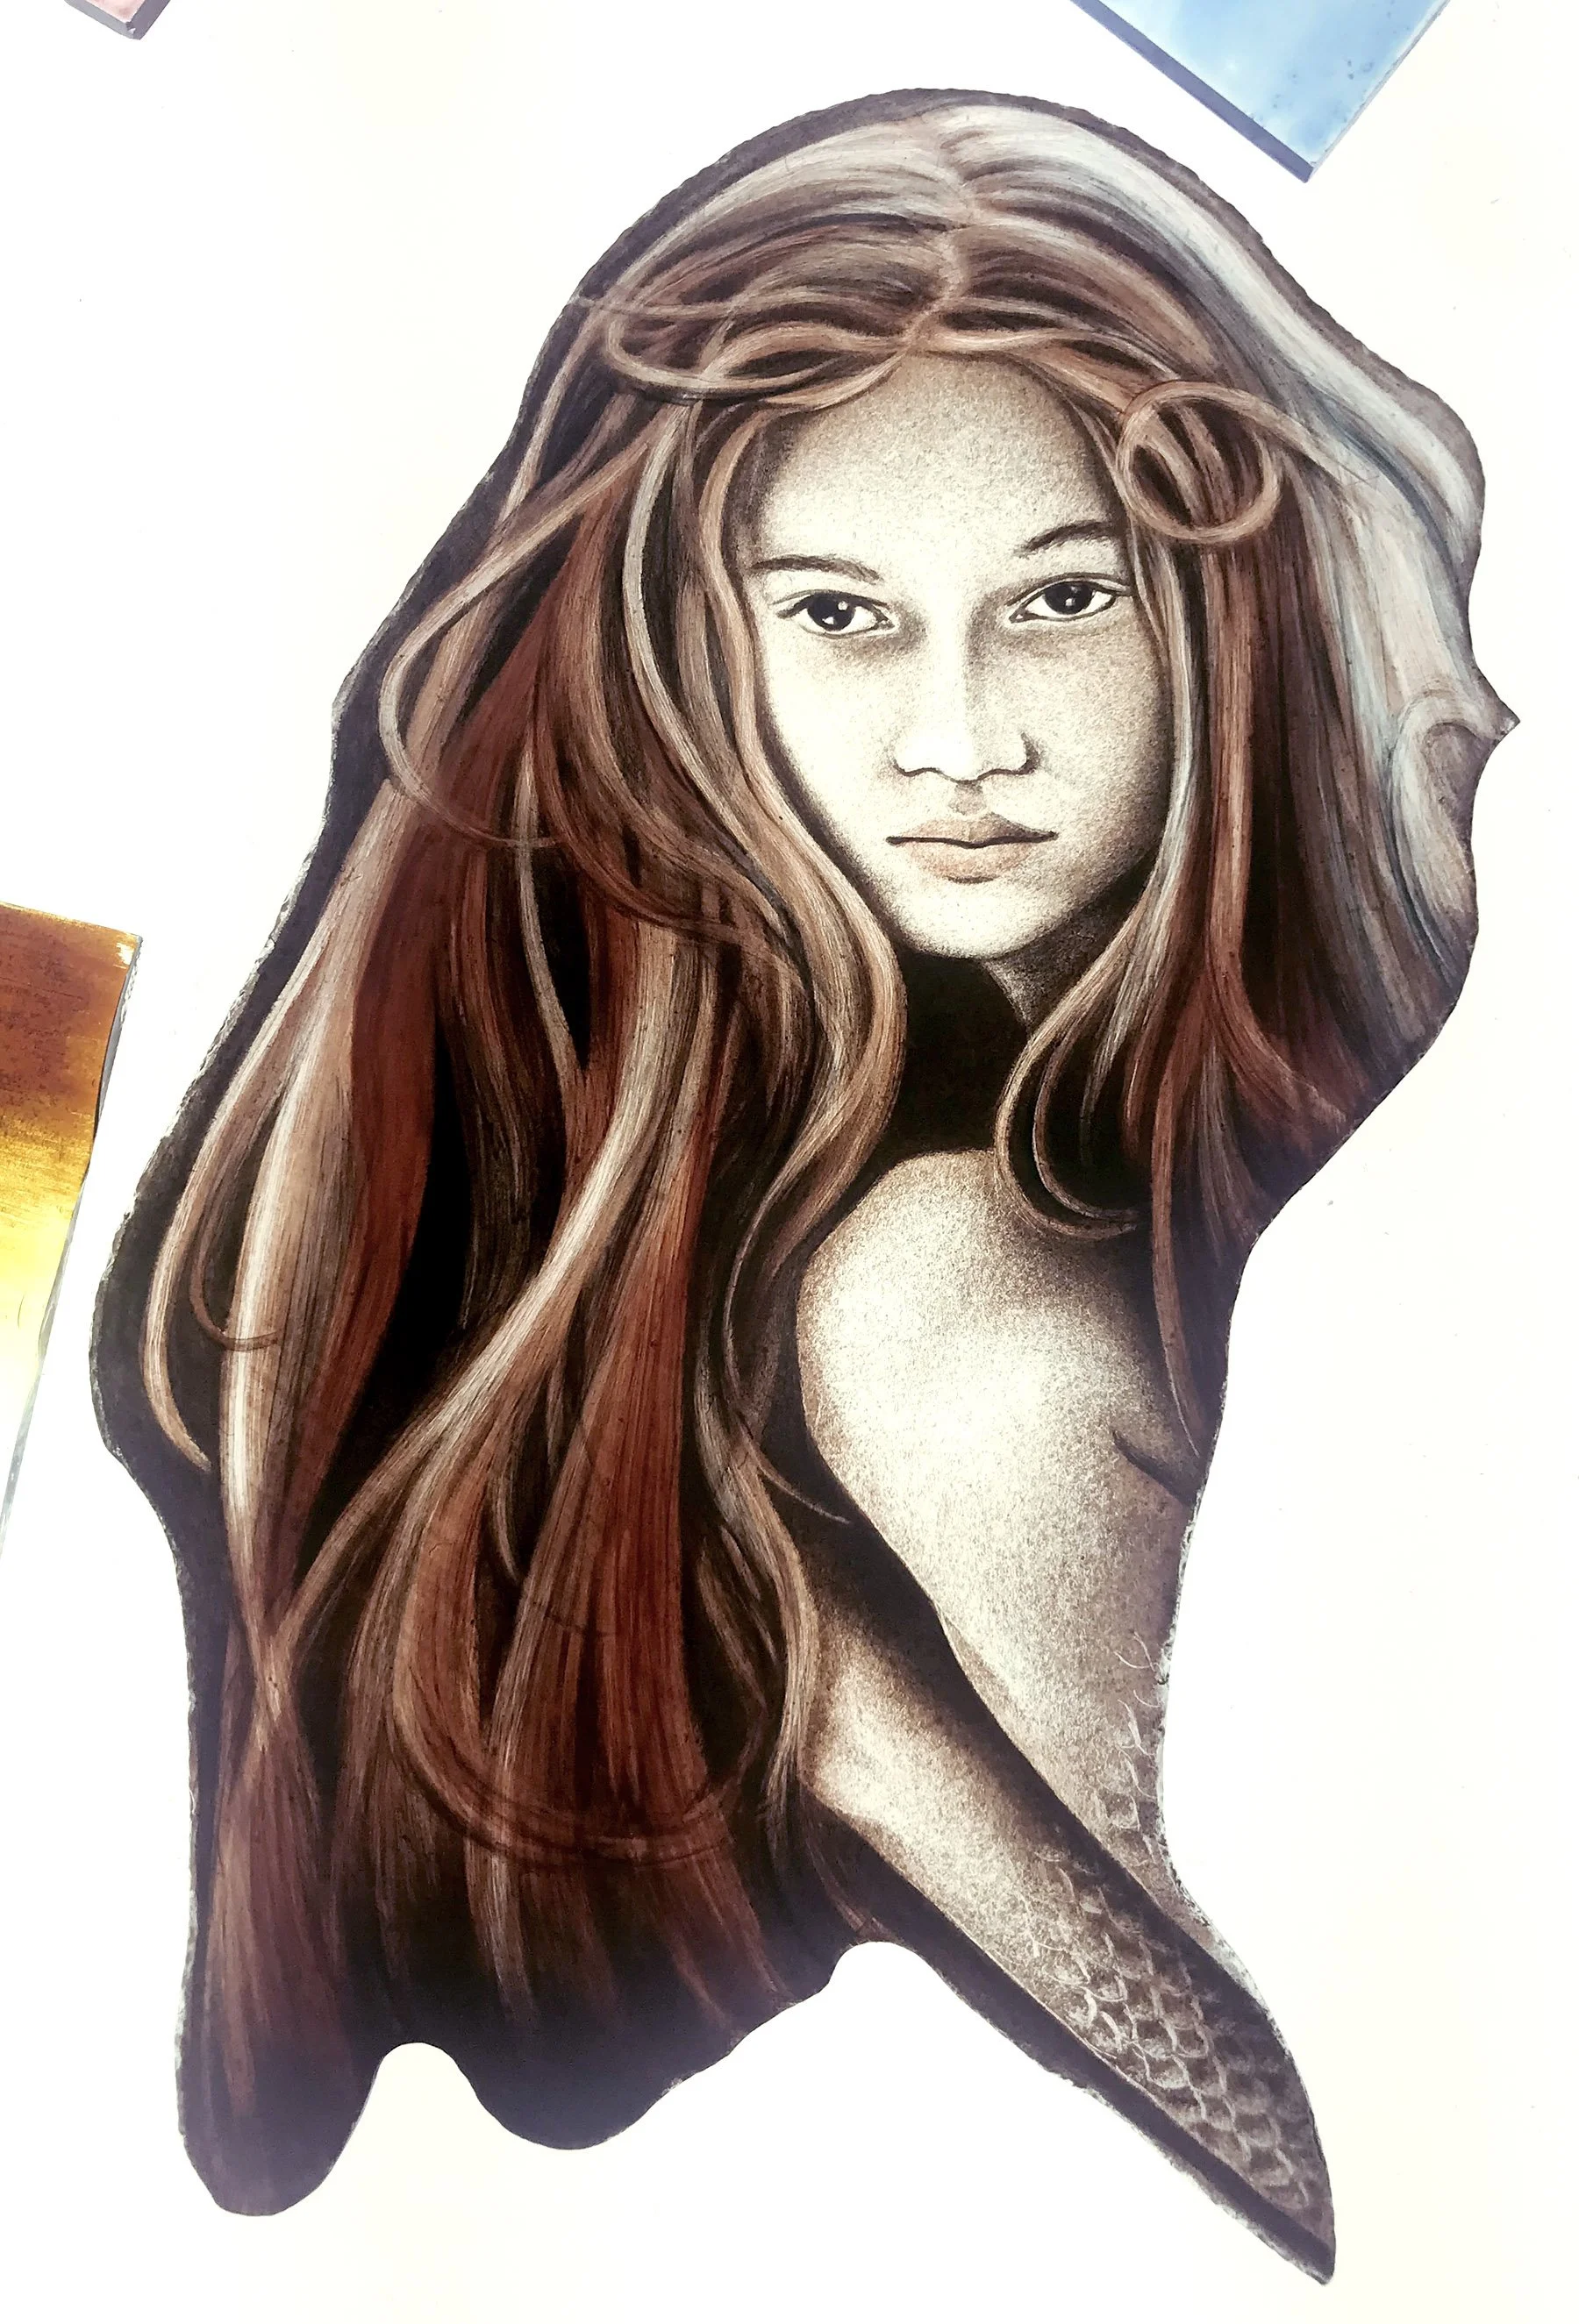
I start to add color to the front of the piece.
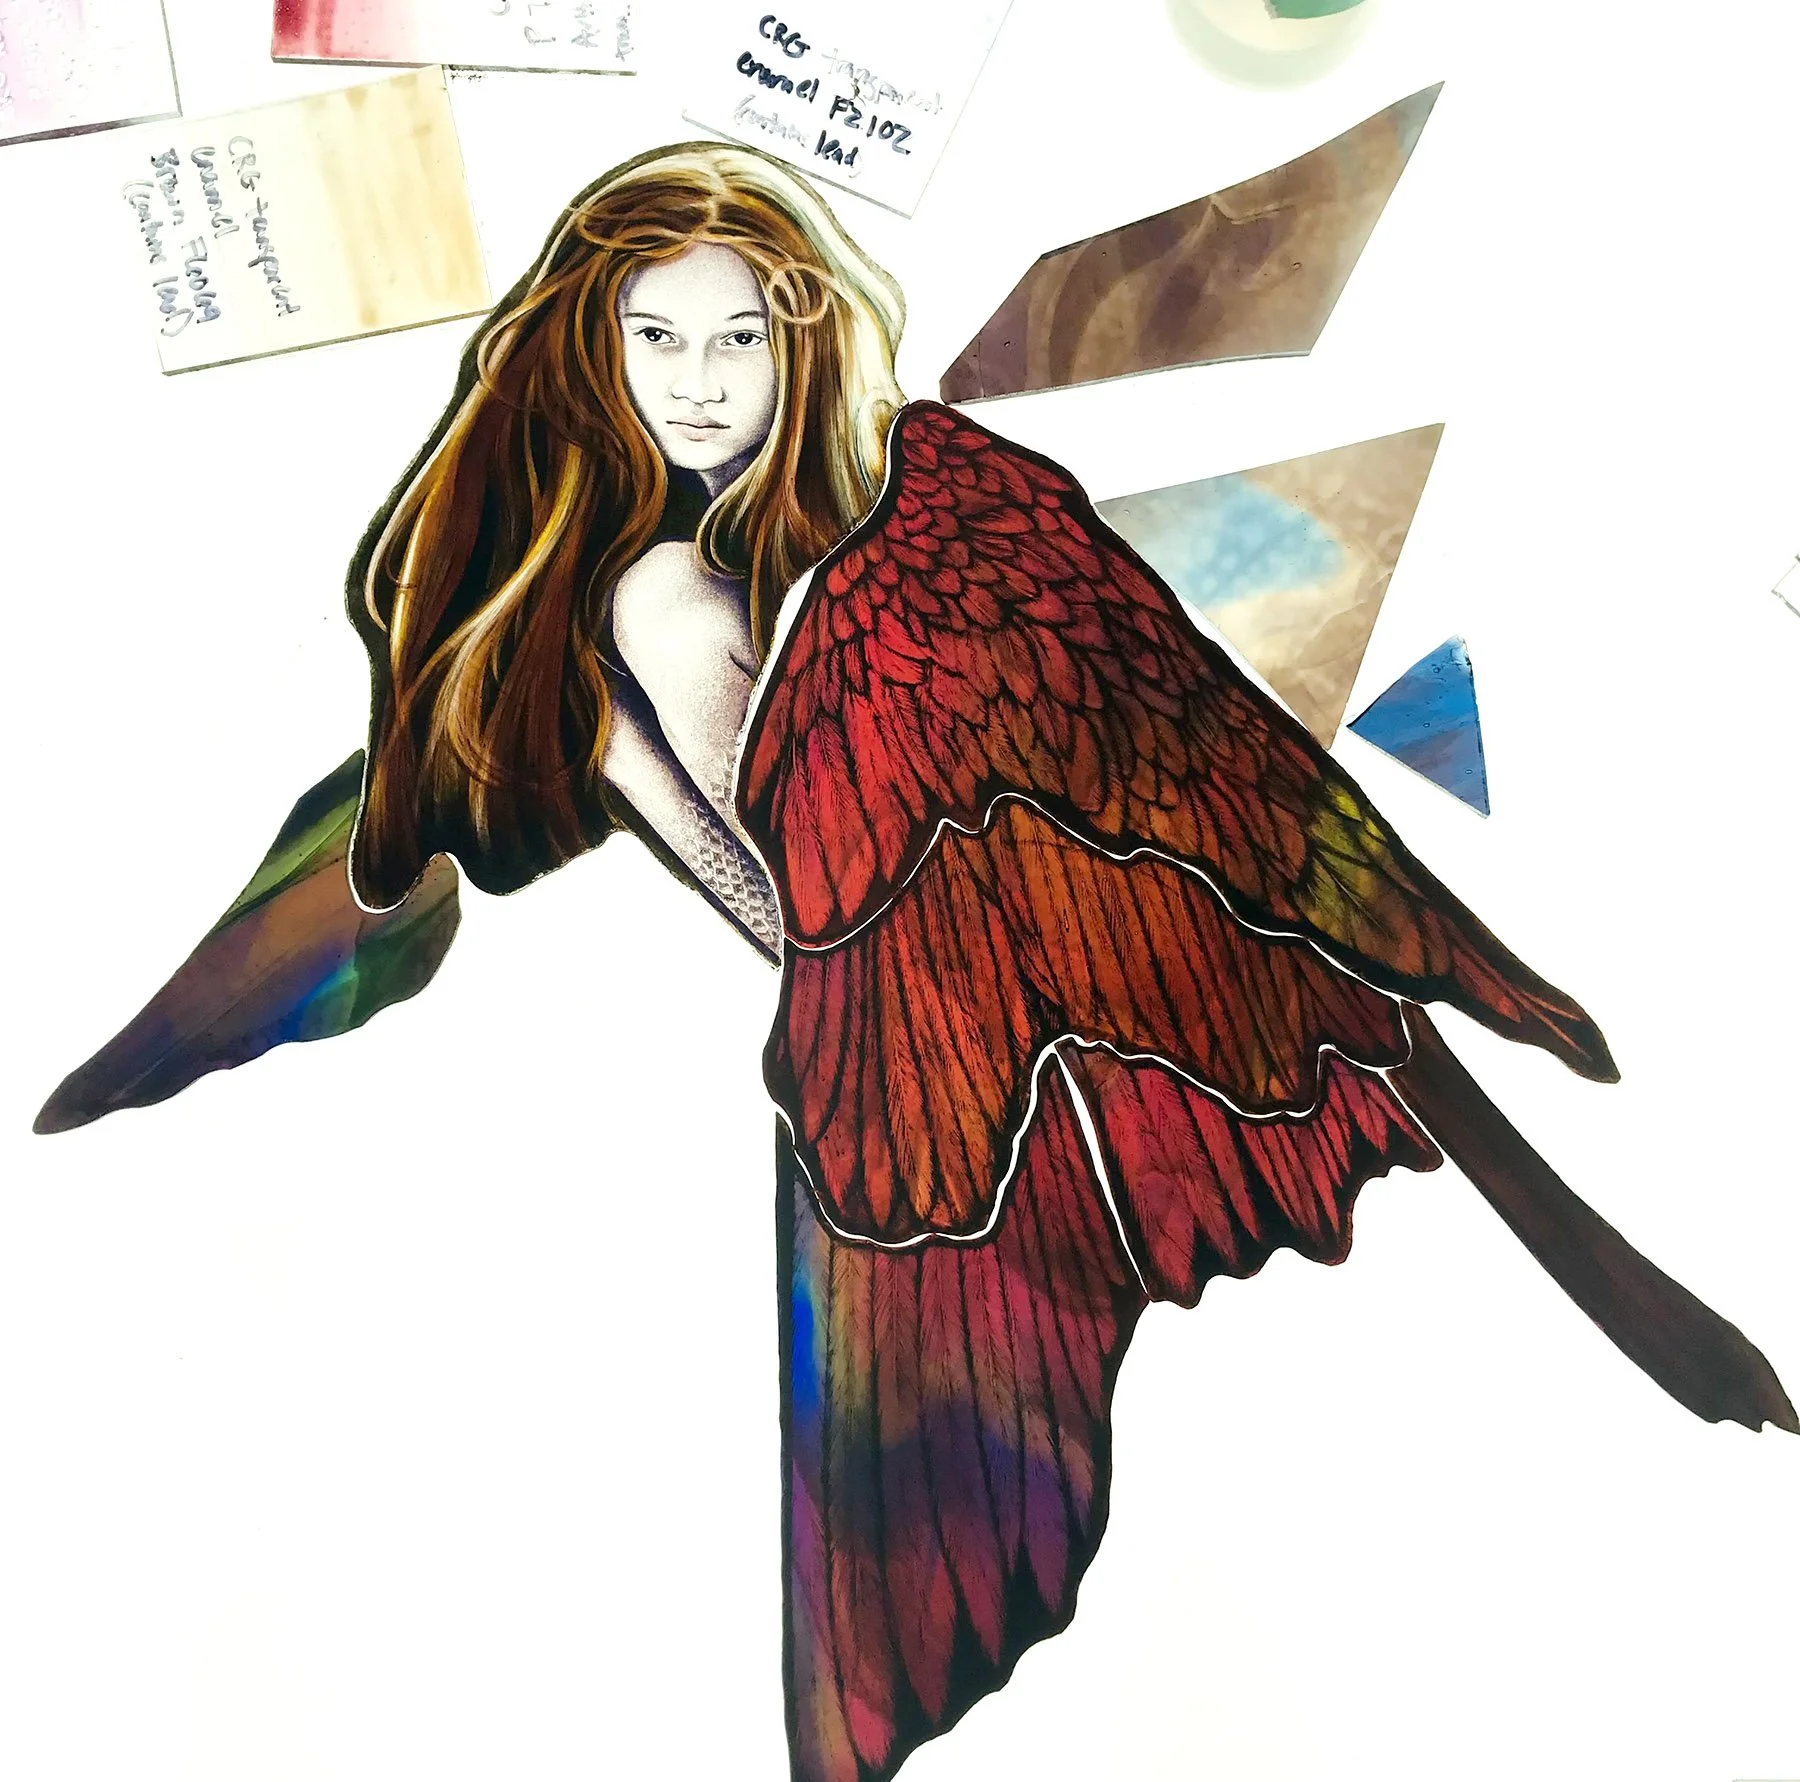
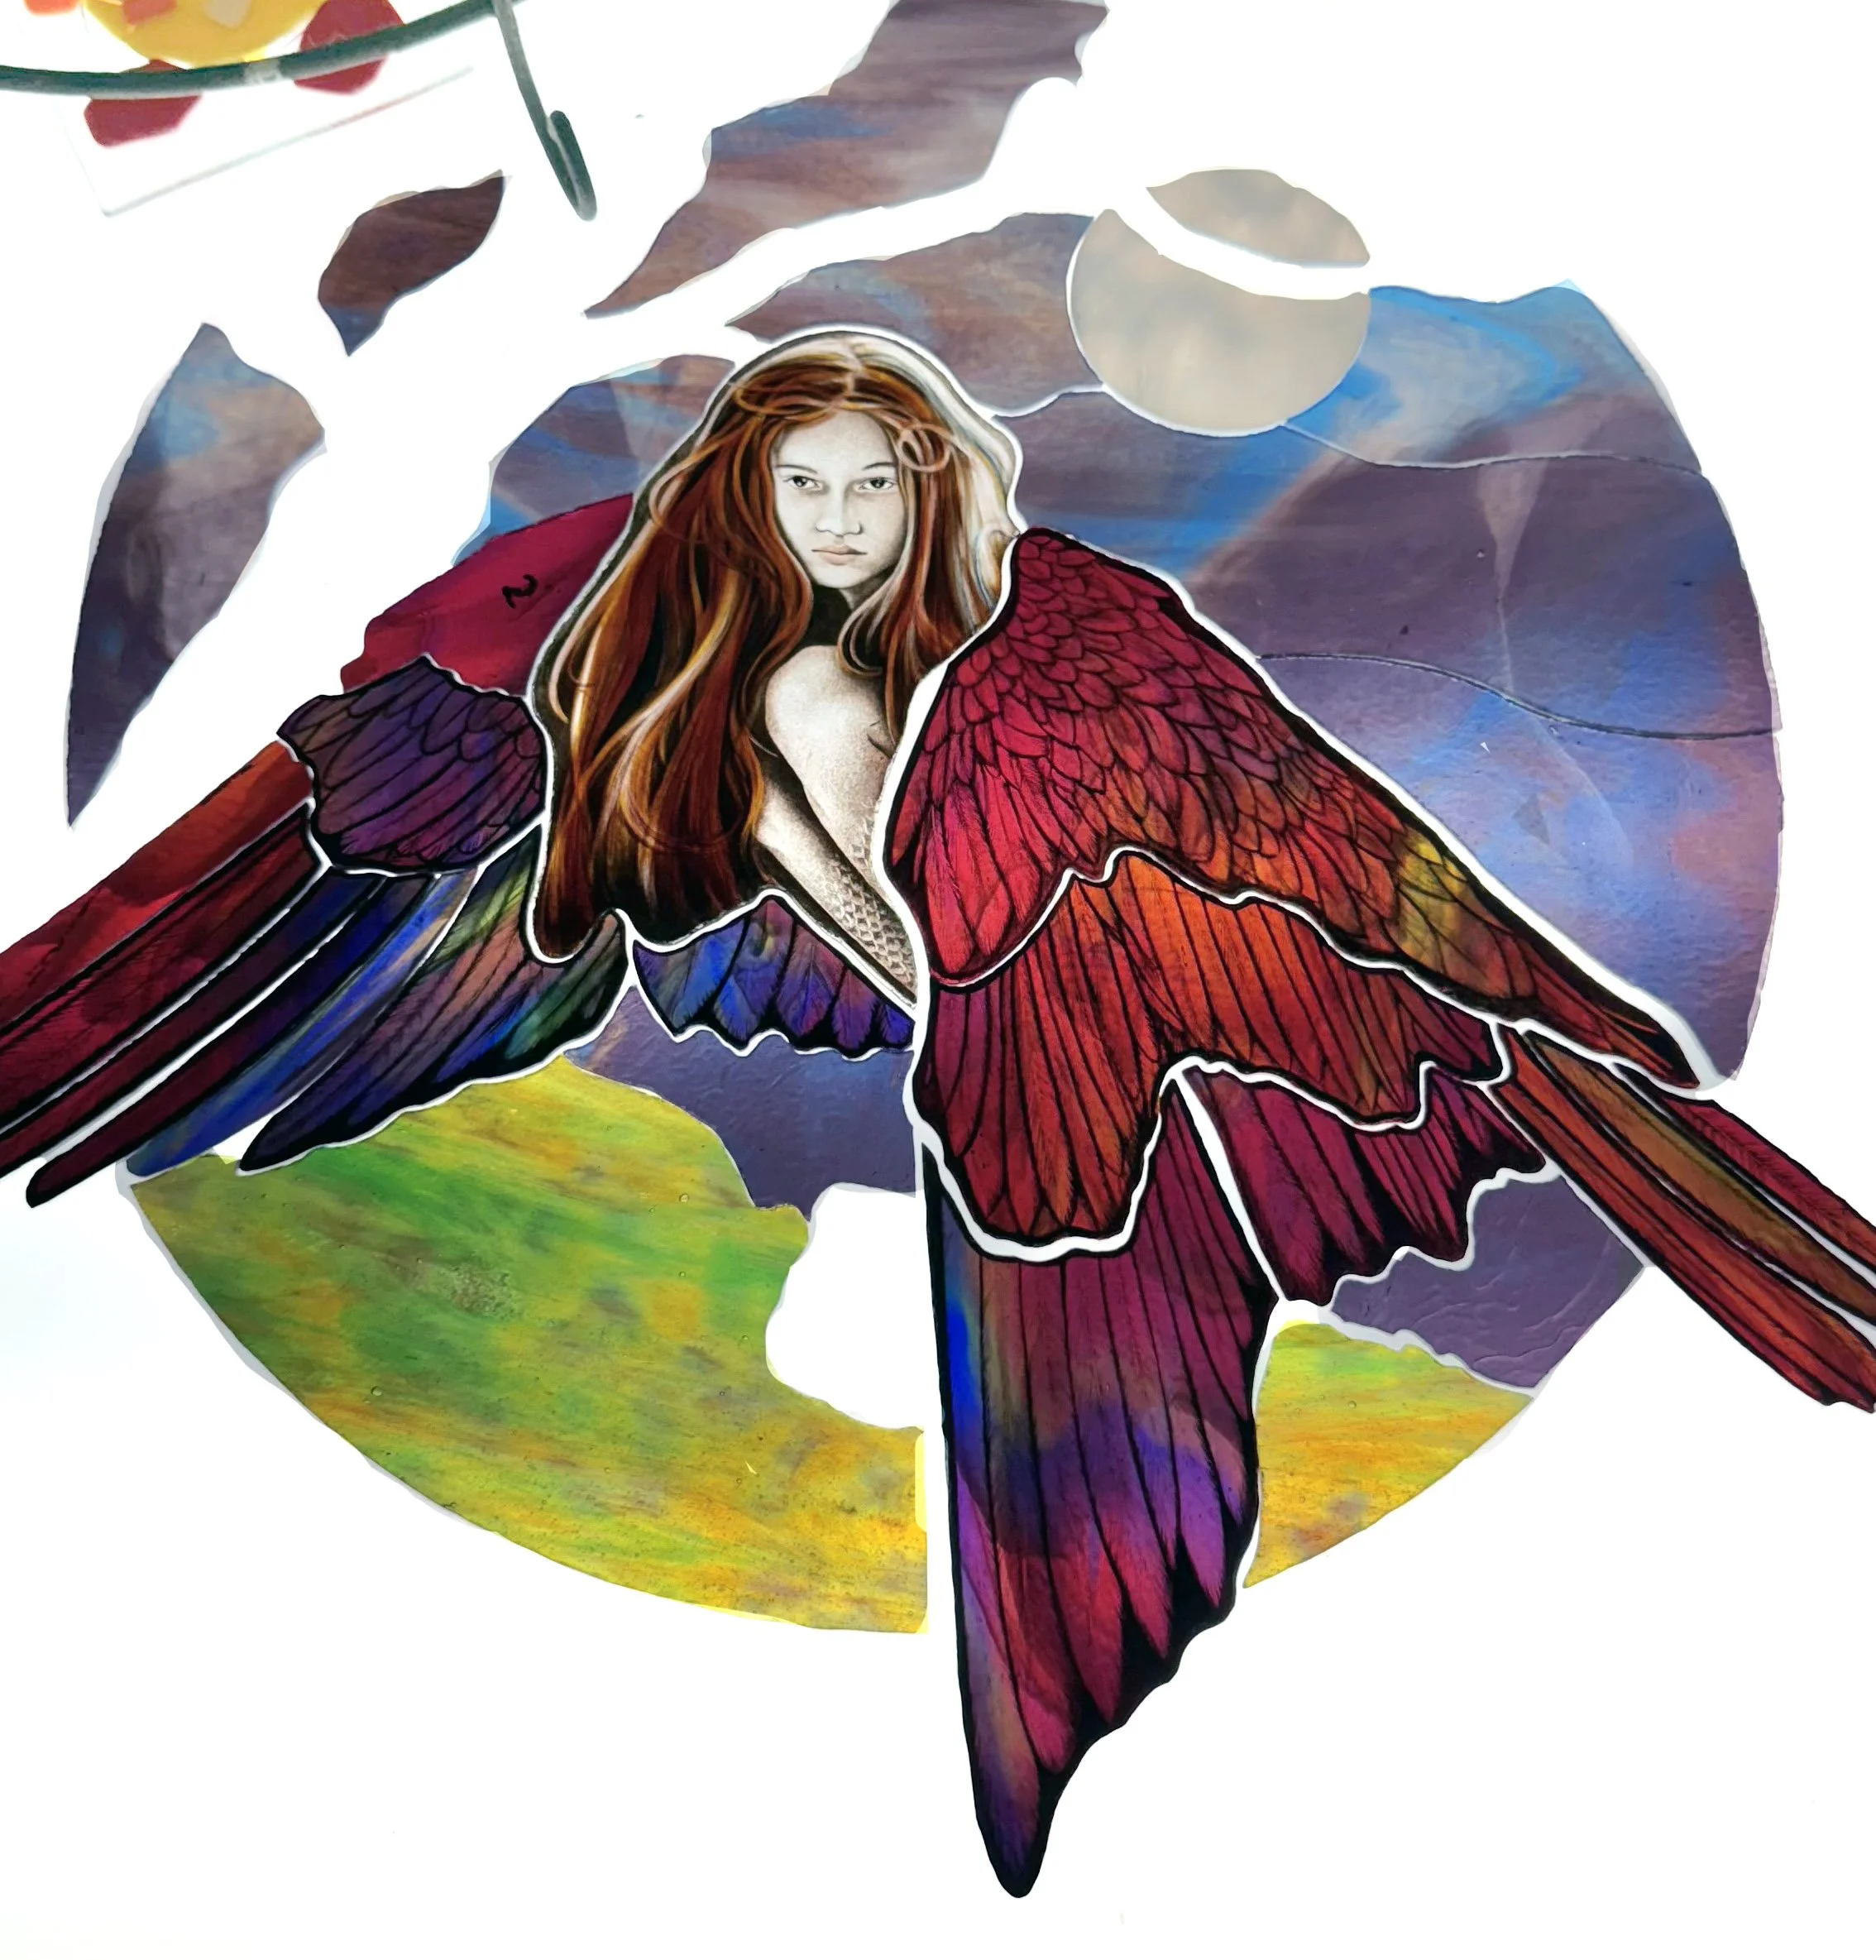
The color of the hair comes from an amber silver stain made of silver nitrate which is painted on the back of the glass to deepen the color. The wings are made with rainbow colored glass that I painted with black and brown paint to define the feathers.
The human portion of the figure has 8 kiln fired layers of paint at this point.
Checking that the pieces I painted fit together with the other glass pieces that Remi Moehring (my occasional partner in crime) has cut.
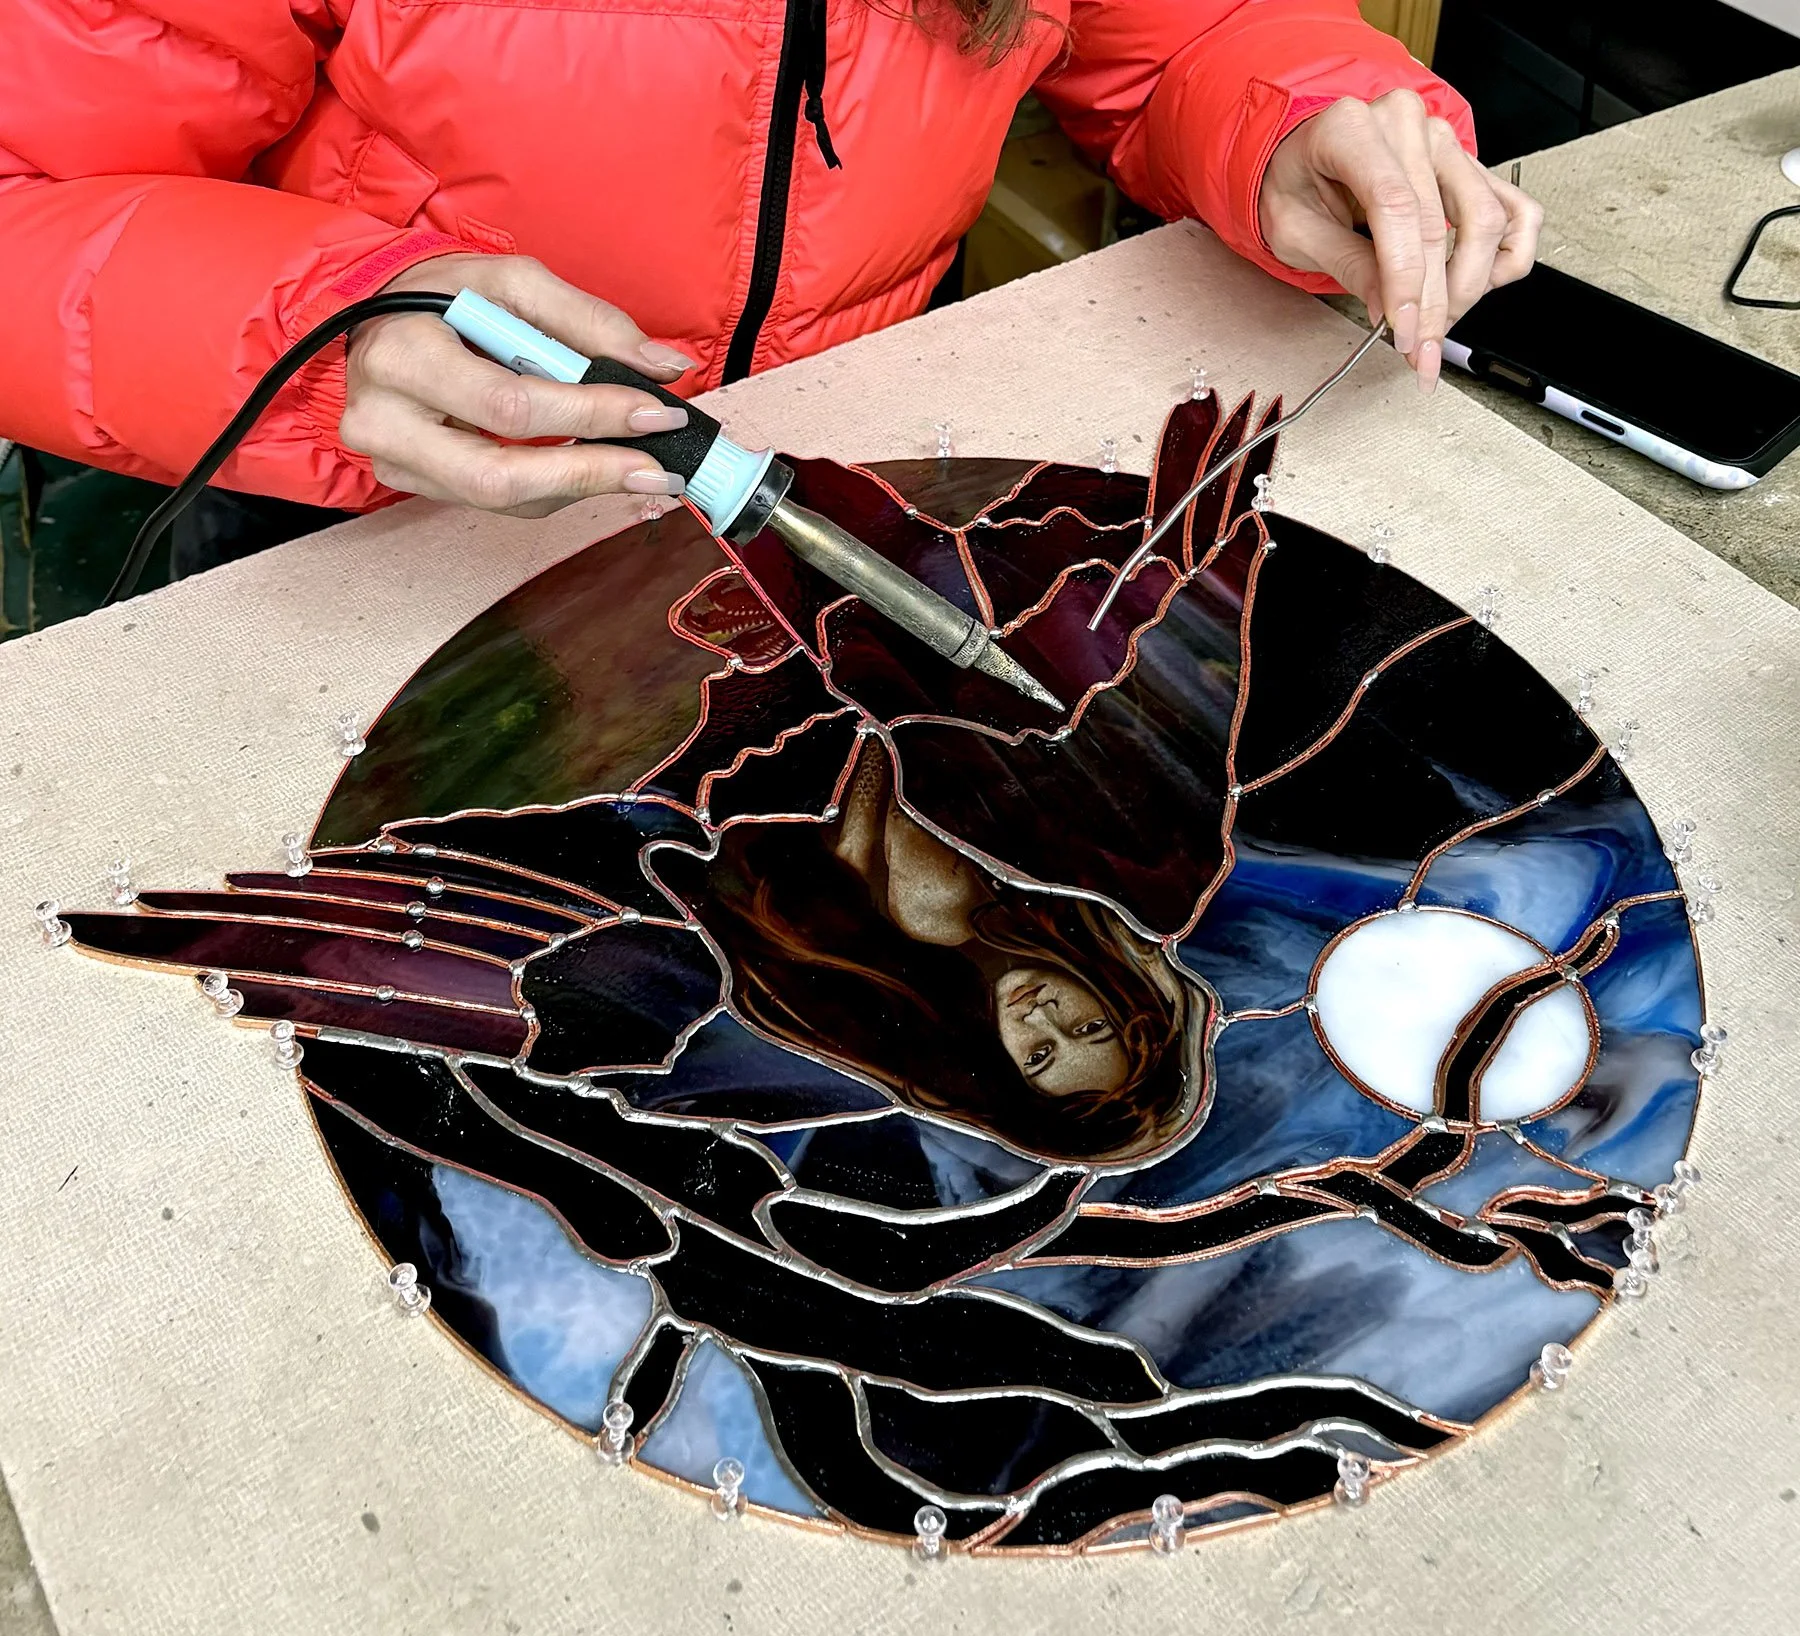
Here is Remi soldering the whole thing together!